Easy Cheese Danish Recipe

Alright, I’m so excited to share this Easy Cheese Danish Recipe with you! If you love a homemade pastry that’s flaky, creamy, and just melts in your mouth, this one’s going to be a game changer. What makes it really special is how simple it is to whip up a bakery-worthy treat right in your own kitchen without any complicated techniques or unusual ingredients.
I’ve found this Easy Cheese Danish Recipe works perfectly for weekend breakfasts or when you want a warm, cozy dessert that impresses without stress. Plus, the cream cheese filling combined with that buttery streusel topping creates a flavor combo that’s both irresistible and comforting.
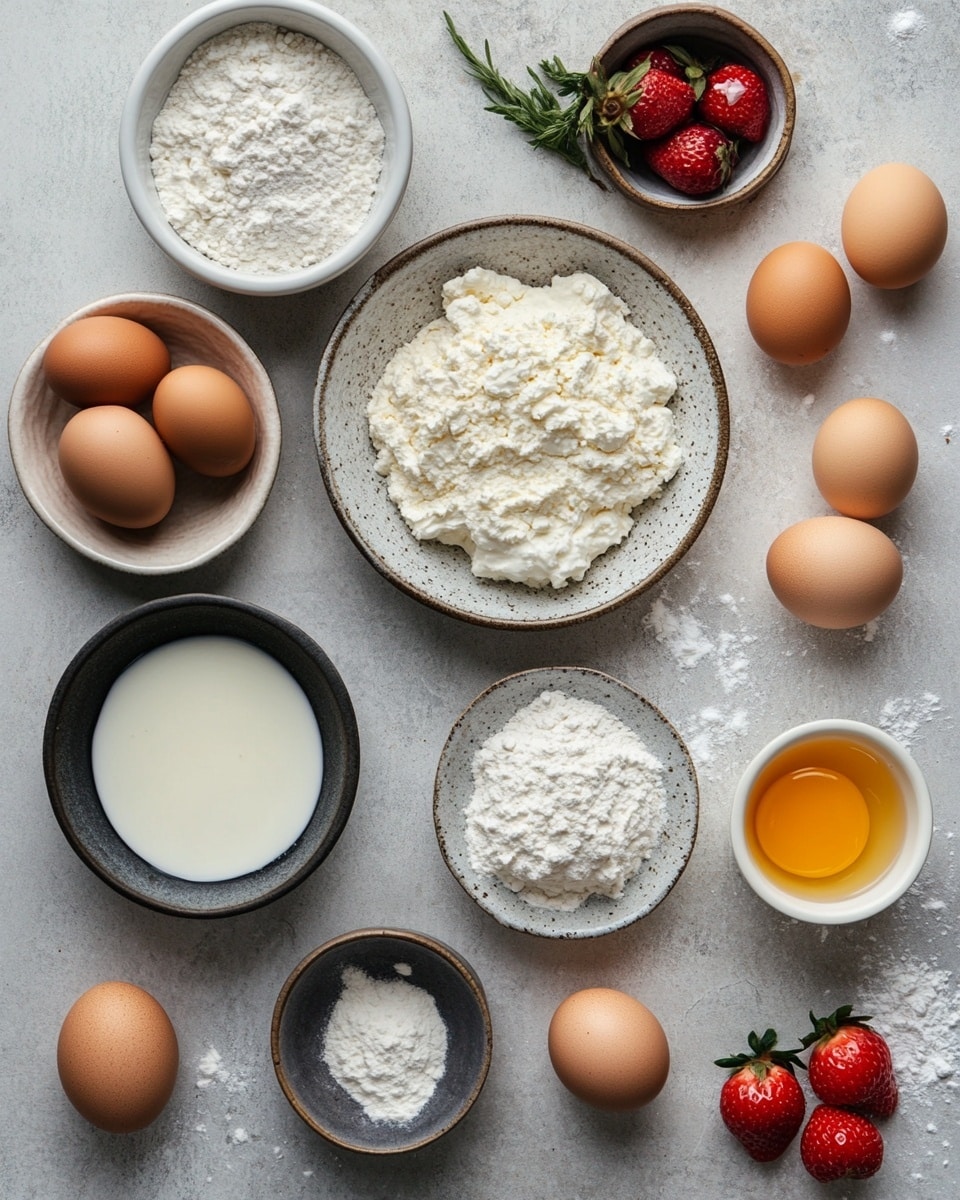
Ingredients You’ll Need
Let me tell you, each ingredient in this Easy Cheese Danish Recipe plays a part in creating that soft yet sturdy dough with a tangy-sweet filling and crumbly topping. Using good-quality yeast and cream cheese really makes all the difference – trust me, it’s worth hunting down the best.
- Warm milk: This helps activate the yeast and creates tender dough.
- Active dried yeast: I love using Platinum Superior Baking Yeast for consistent rise.
- Egg yolks: Adds richness and beautiful color to the dough.
- Sour cream: This ingredient keeps the dough soft and adds subtle tang.
- Granulated sugar: For that balanced sweetness in the dough and filling.
- All-purpose flour: I prefer high-protein like King Arthur Bread Flour for great texture.
- Kosher salt: Elevates all the other flavors just right.
- Unsalted butter (room temperature): Essential for that tender, buttery crumb.
- Cream cheese: The star of the filling – opt for full fat and room temp for creamy smoothness.
- Vanilla extract: Infuses lovely aroma into the cream cheese filling.
- Jam or preserves (optional): Strawberry, peach, or apricot are my favorites to tuck inside.
- Flour, sugar, melted butter for streusel: This crunchy topping adds the perfect sweet crunch.
- Egg yolks and water (for egg wash): Helps achieve that glossy, golden finish.
Variations
I love how flexible this Easy Cheese Danish Recipe is — once you get comfortable with the basics, you can really make it your own. Feel free to experiment with fillings or toppings depending on the season or your preferences.
- Fruit jam swaps: I’ve tried raspberry lemon curd and cherry pie filling with delicious results—each jam changes the vibe entirely.
- Nutty twist: Sprinkling chopped toasted almonds or pecans on top before baking adds an amazing crunch.
- Gluten-free option: I haven’t tried it yet, but swapping the flour for a blend designed for yeast doughs could work if you want to go gluten-free.
- Mini danishes: Making smaller portions is fun for guests, perfect for brunch or finger food.
How to Make Easy Cheese Danish Recipe
Step 1: Proof the yeast for a lively dough
Start by checking if your yeast is active. Just mix a little of the warm milk, yeast, and sugar and wait for 10-15 minutes – it should get all bubbly and frothy. If it doesn’t, toss it and start over with fresh yeast. I’ve saved so many batches by doing this simple step first.
Step 2: Mix the dough ingredients thoroughly
In your stand mixer, combine the warm milk, salt, egg yolks, sour cream, sugar, yeast, and flour. Mix on medium speed for about 10 minutes until it forms a tacky dough. The patience here pays off—a well-kneaded dough rises beautifully and produces that light, flaky texture.
Step 3: Incorporate the butter slowly
Add softened butter in small chunks while kneading for about 8 more minutes until the dough’s smooth, elastic, and forms a shiny thin film when stretched. Don’t rush this; proper kneading gives you that perfect chewiness and structure.
Step 4: Let it rise in a cozy spot
Transfer the dough to a lightly oiled bowl and coat the surface with a little oil to prevent drying. Cover it with a kitchen towel and set it somewhere warm—my trick is turning the oven to 250°F for a few minutes, turning it off, then placing the bowl inside with the oven light on. It usually takes about an hour for the dough to double.
Step 5: Prepare the cream cheese filling and toppings
While the dough rises, beat together cream cheese, sugar, and vanilla until silky smooth. Make the streusel topping by blending flour, sugar, and melted butter until crumbly – it’s easiest to use your fingers here! Also, mix egg yolks and water for brushing later.
Step 6: Shape, fill, and second rise
Once risen, punch down the dough and divide it into 15-16 equal balls. Shape each ball to get a smooth surface, place on baking sheets lined with parchment, and press an indentation in the center using a floured glass bottom. Fill with a scoop of cream cheese filling, optionally add a teaspoon of your favorite jam, then let rise again for 30-60 minutes.
Step 7: Final touches and baking
Brush each danish with egg wash for that enviable golden gloss, then sprinkle the streusel topping generously, pressing gently to help it stick. Bake at 350°F for about 20 minutes until beautifully golden. Let cool slightly so the cream cheese sets but still warm enough to enjoy that fresh-from-the-oven magic.
How to Serve Easy Cheese Danish Recipe
Garnishes
I usually keep it classic with a light dusting of powdered sugar or a drizzle of simple vanilla glaze. Sometimes, fresh berries or a sprig of mint on the side adds just the right pop of color and freshness.
Side Dishes
Pair these danishes with a cup of freshly brewed coffee or a latte for the ultimate cozy breakfast or brunch. I also enjoy serving them alongside fresh fruit salad for a refreshing contrast to the richness.
Creative Ways to Present
For special occasions, I like arranging the danishes on a tiered platter or in a wreath shape for a festive brunch table. Adding edible flowers or seasonal fruit slices around the platter makes an inviting statement that always gets compliments.
Make Ahead and Storage
Storing Leftovers
If you have leftovers (which is rare in my house!), store them in an airtight container at room temperature for up to 2 days. I find that they stay soft and fresh, but avoid the fridge as the pastry tends to dry out.
Freezing
These danishes actually freeze really well before baking! I usually shape, fill, and then freeze them on a baking sheet. Once frozen solid, I transfer them to freezer bags. When you’re ready, thaw overnight in the fridge, let them rise again, and bake as usual. This is a lifesaver when you want fresh danishes without starting from scratch.
Reheating
To reheat, pop the danish in a 300°F oven for about 10 minutes. This revives the crispiness of the crust and warms the filling without drying it out. Microwaving works in a pinch but tends to make the pastry soggy, so I avoid that when I can.
FAQs
-
Can I make the dough without a stand mixer?
Absolutely! While a stand mixer makes the kneading process easier and faster, you can mix and knead the dough by hand. Just be prepared to knead vigorously for about 15-20 minutes until it becomes smooth and elastic.
-
What type of cream cheese works best for the filling?
I recommend using full-fat cream cheese at room temperature for the creamiest and richest filling. Avoid low-fat or whipped varieties as they can affect the texture and flavor of the filling.
-
Can I skip the jam in the filling?
Yes! The cream cheese filling is delicious on its own, but adding jam gives a lovely fruity contrast if you like a bit of extra sweetness and color. Feel free to omit it if you prefer a classic, creamy danish.
-
How can I tell when the danishes are fully baked?
Look for a golden brown exterior and a firm feel when lightly pressed. The streusel topping should be set and crisp. If you’re unsure, a toothpick inserted into the pastry (not the filling) should come out clean.
-
Can I prepare the danishes ahead of time?
Yes! You can assemble and fill the danishes, refrigerate them overnight to slow the rise, and bake fresh in the morning. Just let them come to room temperature for about 30 minutes before baking for best results.
Final Thoughts
This Easy Cheese Danish Recipe has quickly become one of my go-to treats when I want something impressive without fuss. I love the mix of creamy cheese, flaky dough, and sweet streusel crunch; sharing it with friends always brings smiles around the table. If you give it a try, take your time and enjoy the process – I promise the delicious result will be so worth it!
PrintEasy Cheese Danish Recipe

This Easy Cheese Danish recipe delivers soft, tender, and flavorful pastries filled with a rich cream cheese filling and topped with a sweet crumbly streusel. Made from scratch with yeast dough, these Danish pastries are perfect for breakfast or any time treat, offering a perfect balance of creamy filling and buttery, flaky pastry.
- Prep Time: 35 minutes
- Cook Time: 20 minutes
- Total Time: 1 hour 15 minutes
- Yield: 15–16 Danish pastries 1x
- Category: Breakfast
- Method: Baking
- Cuisine: American
Ingredients
Pastry Dough:
- 1 cup warm milk
- 2 tsp active dried yeast (Platinum Superior Baking Yeast recommended)
- 4 egg yolks
- 2 Tbsp sour cream
- 1/3 cup granulated sugar
- 3 cups all-purpose flour (high protein flour like Canadian or King Arthur Bread Flour recommended)
- 1/4 tsp kosher salt
- 3 oz unsalted butter, room temperature
Cream Cheese Filling:
- 1 1/3 cup cream cheese
- 1/2 cup sugar
- 1 tsp vanilla extract
- 1/2 cup jam of choice (optional; strawberry, peach, apricot recommended)
Streusel Topping:
- 1/3 cup flour
- 1/3 cup sugar
- 3 tbsp melted butter
Egg Wash:
- 2 egg yolks
- 1 Tbsp water
Instructions
- Check the yeast: Combine 2-3 tablespoons of warm milk, 1 tsp sugar, and the active dried yeast in a small bowl. Stir to dissolve and let sit for 10-15 minutes until the mixture becomes frothy and rises, indicating active yeast. If it does not, discard and use fresh yeast.
- Make the Pastry Dough: In the bowl of a stand mixer, combine the remainder of the 1 cup warm milk, 1/4 tsp kosher salt, 4 egg yolks, 2 tbsp sour cream, the remainder of the 1/3 cup sugar, 2 tsp yeast (or the frothy yeast mixture), and 3 cups flour. Mix on speed 3 for about 10 minutes until fully combined.
- Add butter and knead: Gradually add the softened butter in quarters to the dough while kneading. Continue kneading for about 8 minutes until the dough pulls away from the sides of the bowl, feels tacky, and can stretch into a thin film without tearing.
- Let dough rise: Transfer dough to a well-oiled bowl, coat the surface of the dough with a thin layer of oil to prevent drying, and cover with a towel. Place in a warm, draft-free spot (80°F-90°F) such as inside a pre-warmed oven with the light on. Let rise until doubled in size, about 1 hour.
- Prepare cream cheese filling: Whip together cream cheese, sugar, and vanilla until smooth. Cover and set aside.
- Make streusel topping: Mix flour, sugar, and melted butter with a fork or hands until crumbly. Refrigerate until ready to use.
- Prepare egg wash: Whisk together egg yolks and water. Cover and set aside.
- Divide and shape dough: Punch down the risen dough and divide it into 15-16 equal pieces by weight. Shape each piece into a smooth ball by tucking edges underneath. Place buns on a foil or parchment-lined 12″x18″ baking sheet, spacing evenly. Let rest for 10 minutes.
- Form indentations: Dip the bottom of a glass or cup into flour and press gently in the center of each dough ball to create an indentation for filling.
- Fill with cream cheese and jam: Use a medium ice cream scoop or spoon to fill each indentation with cream cheese filling. Optionally, add 1 tsp of your preferred jam over the cream cheese.
- Second rise: Place the filled danishes back into the warm place (oven with light on or top of refrigerator). Let rise until doubled in size, approximately 30 minutes to 1 hour.
- Apply egg wash and streusel: Brush the tops of the risen danishes lightly with egg wash. Generously sprinkle streusel topping on each, pressing gently to help it adhere.
- Bake: Bake in a preheated 350°F oven for about 20 minutes or until golden brown on the outside. Remove from oven and cool on a wire rack slightly before serving.
Notes
- You can use any jam or pie filling of your choice; strawberry, peach, or apricot are favorites.
- For added texture and flavor, sprinkle dried raisins, cranberries, or blueberries on top of the cream cheese filling before adding streusel.
- Store the cheese danishes in an airtight container at room temperature for up to 2 days or refrigerate for longer freshness.
Keywords: Cheese Danish, Cream Cheese Pastry, Danish Recipe, Homemade Danish, Breakfast Pastry, Streusel Topping