Red Velvet Cheesecake Bliss Recipe

I can’t wait to share this Red Velvet Cheesecake Bliss Recipe with you! It’s one of those special treats that feels like a hug in dessert form—rich, creamy cheesecake nestled on a tender, velvety red cake base. Perfect for celebrations, cozy nights in, or anytime you want a show-stopping dessert that’s surprisingly easy to make for how fabulous it tastes.
What I love most about this recipe is how the flavors marry beautifully—tangy cream cheese meets just the right amount of cocoa in the red velvet cake layer. Plus, that whipped cream topping adds a fluffy, airy finish that makes every bite feel like a slice of heaven. Trust me, once you try this Red Velvet Cheesecake Bliss Recipe, it’ll become a favorite go-to whenever you want to impress without stress.
Ingredients You’ll Need
The magic really starts here—these ingredients work together to create balanced layers of flavor and texture. I recommend using fresh, quality ingredients, especially for the cream cheese and buttermilk, to get that signature silky cheesecake and moist red velvet cake.
- All-purpose flour: The base for your cake and thickening for the cheesecake layer; measure carefully to avoid a dense cake.
- Granulated sugar: Sweetens both layers perfectly without overpowering.
- Cocoa powder: You need just a hint to bring out that classic red velvet flavor.
- Baking powder and baking soda: Help your red velvet cake rise beautifully and stay fluffy.
- Salt: Enhances the overall flavor.
- Buttermilk: Adds moisture and a tangy note; if you don’t have any, adding a little vinegar to milk works as a good substitute.
- Eggs: For structure and richness; keep them at room temperature for best results.
- Vegetable oil: Keeps the cake moist and tender.
- Red food coloring or beetroot powder: For that vibrant red hue; beetroot powder is fantastic if you want a natural twist.
- Vanilla extract: Deepens the flavor of both the cake and cheesecake layers.
- White vinegar: Reacts with baking soda to lighten the cake and subtly boost the acidity.
- Cream cheese: Softened for creamy texture in the cheesecake layer; make sure it’s room temp so no lumps.
- Sour cream: Gives that extra tang and richness to the cheesecake.
- Powdered sugar: Sweetens and stabilizes the whipped cream topping.
- Heavy cream: Whipped for a light and fluffy topping that balances the richness.
- Fresh berries and cake crumbs (optional): Perfect garnishes that add color and texture when serving.
Variations
One of the best things about the Red Velvet Cheesecake Bliss Recipe is how you can make it your own. I often tweak it depending on the occasion or what we have on hand, and it always turns out delightful!
- Natural coloring: I’ve swapped out red food coloring for beetroot powder to avoid artificial dyes, and it adds a lovely earthy hint that still looks stunning.
- Gluten-free version: Using a gluten-free flour blend works wonders. Just be mindful of the texture—you might need to adjust slightly.
- Flavor twists: Add a teaspoon of instant espresso powder to the cake batter for a mocha-infused kick—delicious! I tried it last holiday, and family couldn’t get enough.
- Mini cheesecakes: If hosting a party, I make this in muffin tins for individual portions—makes serving and eating so fun and mess-free.
How to Make Red Velvet Cheesecake Bliss Recipe
Step 1: Prepare the Red Velvet Cake Batter
Start by sifting together the flour, sugar, cocoa powder, baking powder, baking soda, and salt—this ensures no lumps and a light crumb. In a separate bowl, whisk the buttermilk, egg, vegetable oil, red food coloring (or beetroot powder), vanilla extract, and white vinegar until smooth. Slowly mix the dry ingredients into the wet, stirring gently until combined but be careful not to overmix—you want it well incorporated but still airy.
Step 2: Make the Cheesecake Layer
This part is all about smooth textures. Beat the softened cream cheese with sour cream and sugar until creamy and no lumps remain—patience here pays off. Add eggs one at a time, blending well after each. Stir in vanilla extract and flour. The batter should be silky without any dry patches.
Step 3: Assemble and Bake
Pour the red velvet cake batter into a greased springform pan first—spread it out evenly. Then carefully layer the cheesecake mixture on top; I use a spatula to gently smooth it down. Bake at 325°F (160°C) for about 55–65 minutes. A toothpick inserted in the center should come out mostly clean with a few moist crumbs. To prevent cracks, avoid overbaking and let the cheesecake cool gradually—leaving it in the turned off oven with the door ajar works well.
Step 4: Prepare the Whipped Cream Topping
Once the cake has cooled completely, whip the heavy cream with powdered sugar and vanilla until soft peaks form. This step is quick and makes a huge difference—fresh whipped cream adds a light contrast to the rich cake and cheesecake layers. Spread it generously over the top right before serving.
How to Serve Red Velvet Cheesecake Bliss Recipe
Garnishes
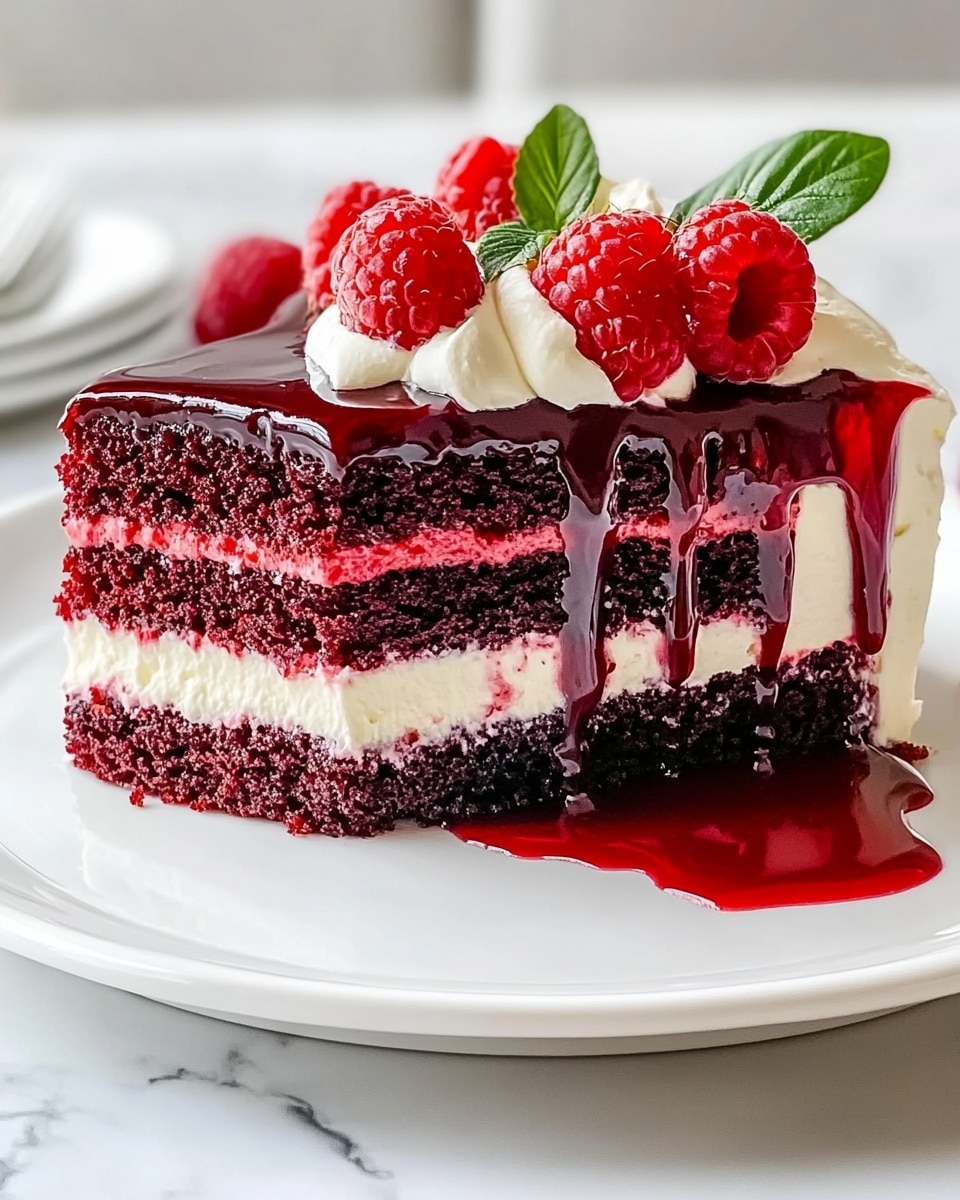
I love topping mine with fresh berries like raspberries or strawberries—they add a zesty brightness that cuts through the richness. Plus, sprinkling a few red velvet cake crumbs from trimming edges gives a beautiful, textured look. These little touches always impress guests!
Side Dishes
Serve slices alongside a light espresso or chai latte to complement the creamy tanginess. Sometimes I pair it with a fresh fruit salad or a scoop of vanilla bean ice cream for an indulgent finish. These combos elevate the dessert experience without overpowering the flavors.
Creative Ways to Present
For birthdays or special events, I’ve decorated the cake edges with piped whipped cream rosettes and edible glitter, turning this recipe into a centerpiece dessert. Alternatively, serving it in clear dessert glasses layered with cake crumbs, cheesecake filling, and whipped cream makes for a fun twist that guests love.
Make Ahead and Storage
Storing Leftovers
Store your leftover Red Velvet Cheesecake Bliss in an airtight container in the fridge. I usually cover the top loosely with plastic wrap to protect the whipped cream topping from drying out. It stays delicious for up to 3-4 days—though honestly, it rarely lasts that long in my house.
Freezing
If you want to freeze it, I recommend removing the whipped cream first (freeze the cake portion alone). Wrap tightly with plastic wrap and foil to prevent freezer burn. From my experience, freezing keeps it good for up to 2 months. When ready, thaw overnight in the fridge for the best texture.
Reheating
Because it’s a cheesecake, reheating isn’t necessary. Just bring it to room temperature for about 20 minutes before serving to get those creamy layers soft and flavorful again. If you want, add fresh whipped cream or berries on top before enjoying.
FAQs
-
Can I use regular milk instead of buttermilk in the Red Velvet Cheesecake Bliss Recipe?
Absolutely! If you don’t have buttermilk, add 1 tablespoon of white vinegar or lemon juice to 1 cup of milk and let it sit for 5-10 minutes. This homemade ‘buttermilk’ mimics the acidity and works just as well to tenderize the cake and activate the baking soda.
-
How do I prevent cracks on my cheesecake layer?
Great question! Avoid overmixing the batter, bake at a moderate temperature (325°F/160°C), and make sure to cool the cheesecake gradually—don’t open the oven door too often. Some even leave the cake inside the switched-off oven with the door cracked for an hour to prevent cracks due to sudden temperature changes.
-
Is it possible to make this recipe dairy-free?
You can try substituting cream cheese and sour cream with dairy-free versions like almond-based or coconut-based products, and use a dairy-free milk for buttermilk substitute. Keep in mind, texture and flavor might vary slightly, but it’s worth experimenting!
-
Can I make this recipe ahead of time for a party?
Definitely! This Red Velvet Cheesecake Bliss Recipe actually tastes better after resting overnight as the flavors meld. Just add the whipped cream topping right before serving for the freshest taste and best presentation.
-
What’s the best pan to use for baking this cheesecake?
I highly recommend a 9-inch springform pan because it’s easy to remove the cake without damaging all those beautiful layers. Line the bottom with parchment paper to prevent sticking, and grease the sides for smooth release.
Final Thoughts
This Red Velvet Cheesecake Bliss Recipe has become one of my personal favorites—not only for its stunning look but for the comforting feeling it brings to the table. Whether you’re baking for a holiday, a birthday, or just because, it’s a recipe that feels special without requiring fancy techniques. Give it a try, and I promise you’ll be thrilled with how delicious and impressive this dessert turns out—your friends and family will definitely ask for seconds!
PrintRed Velvet Cheesecake Bliss Recipe

This Red Velvet Cheesecake Bliss combines the rich, velvety texture of classic red velvet cake with a smooth and creamy cheesecake layer, topped with light whipped cream and optional fresh berries or cake crumbs for garnish. Perfect for celebrations or an indulgent dessert treat, it offers a harmonious blend of flavors and textures in every bite.
- Prep Time: 25 minutes
- Cook Time: 1 hour 5 minutes
- Total Time: 5 hours 30 minutes
- Yield: 12 servings 1x
- Category: Dessert
- Method: Baking
- Cuisine: American
Ingredients
Red Velvet Cake Layer
- 1 ½ cups all-purpose flour
- 1 cup granulated sugar
- 1 tbsp cocoa powder
- 1 tsp baking powder
- ½ tsp baking soda
- ½ tsp salt
- 1 cup buttermilk
- 1 large egg
- ½ cup vegetable oil
- 2 tbsp red food coloring or beetroot powder for natural option
- 1 tsp vanilla extract
- 1 tsp white vinegar
Cheesecake Layer
- 16 oz cream cheese, softened
- ½ cup sour cream
- ½ cup granulated sugar
- 2 large eggs
- 1 tsp vanilla extract
- 2 tbsp all-purpose flour
Whipped Cream Topping
- 1 cup heavy cream
- 2 tbsp powdered sugar
- 1 tsp vanilla extract
Garnish (optional)
- Fresh berries
- Red velvet cake crumbs
Instructions
- Prepare Red Velvet Cake Batter: In a large bowl, whisk together flour, sugar, cocoa powder, baking powder, baking soda, and salt. In a separate bowl, combine buttermilk, egg, vegetable oil, red food coloring, vanilla extract, and white vinegar. Gradually add the wet ingredients into the dry ingredients and mix until smooth and well combined.
- Prepare Cheesecake Filling: In another bowl, beat the softened cream cheese until creamy. Add sour cream and sugar, beating until smooth. Incorporate eggs one at a time, followed by vanilla extract and flour, mixing until fully incorporated and silky.
- Assemble the Layers: Preheat the oven to 325°F (163°C). Pour the red velvet cake batter into a greased or parchment-lined 9-inch springform pan. Gently layer the cheesecake filling on top of the cake batter, spreading evenly to avoid mixing layers.
- Bake the Cheesecake: Bake in the preheated oven for approximately 55-65 minutes until the cheesecake layer is set around the edges but slightly jiggly in the center. Remove from oven and cool to room temperature. Then refrigerate for at least 4 hours or overnight to fully set.
- Prepare Whipped Cream Topping: Just before serving, whip heavy cream with powdered sugar and vanilla extract until soft peaks form. Spread or pipe the whipped cream over the chilled cheesecake layer.
- Garnish and Serve: Decorate with fresh berries and sprinkle with red velvet cake crumbs if desired. Slice with a sharp knife, wiping between cuts for clean slices. Serve chilled and enjoy the luscious layers of red velvet and cheesecake bliss.
Notes
- Use beetroot powder as a natural alternative to red food coloring for a healthier option.
- Ensure the cream cheese is fully softened to avoid lumps in the cheesecake layer.
- To prevent cracking, cool the cheesecake gradually by turning off the oven and leaving the door ajar for 30 minutes after baking.
- This dessert tastes even better after chilling overnight as flavors meld deeply.
- Use a water bath for baking if possible, to achieve a creamier, crack-free cheesecake.
Keywords: Red Velvet Cheesecake, Red Velvet Cake, Cheesecake Recipe, Layered Dessert, Holiday Dessert, Cream Cheese Cake