Red Velvet Brownies with Cream Cheese Layer Recipe

I have to tell you, this Red Velvet Brownies with Cream Cheese Layer Recipe is one of my absolute favorites when I want something that feels festive yet deeply comforting. The vibrant red brownie base paired with that luscious, tangy cream cheese layer is just the perfect balance of flavors. Whether you’re baking for a special occasion, a cozy night in, or just craving a sweet treat, this recipe always delivers with its rich, moist texture and eye-catching color.
What truly makes this recipe stand out is how approachable it is—I mean, you get the drama of red velvet and the indulgence of cream cheese swirl all in one pan, without needing a fancy technique. And in my experience, it’s a real crowd-pleaser, whether for holiday gatherings or casual get-togethers. Once you try this Red Velvet Brownies with Cream Cheese Layer Recipe, I bet it’ll become your go-to whenever you want that “wow” factor from a classic brownie.
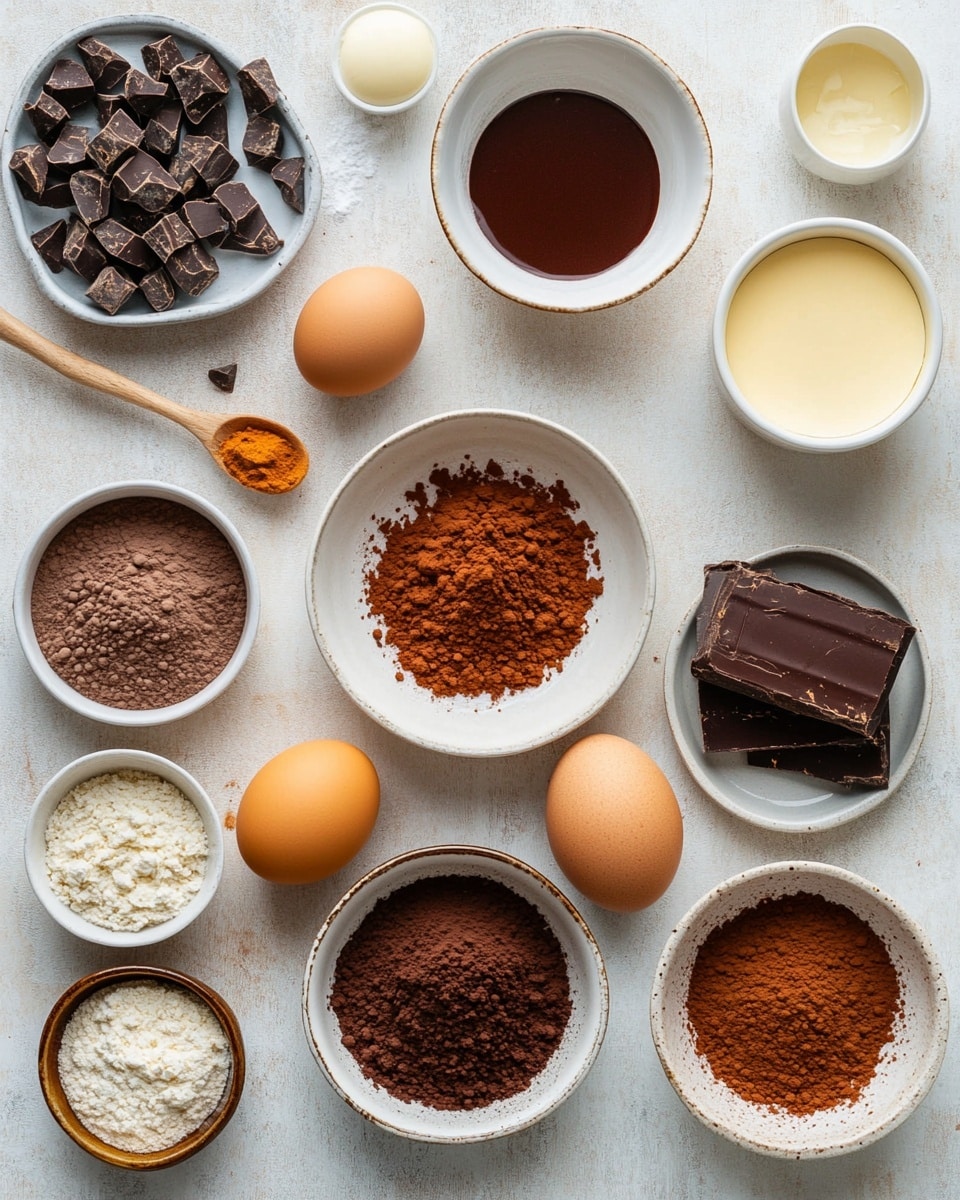
Ingredients You’ll Need
I’ve found that the magic really happens when you combine simple, quality ingredients that complement each other beautifully. The cocoa powder really brings a subtle chocolate depth without overpowering the signature red velvet flavor, and the cream cheese layer adds that creamy, tangy richness you’re going to love.
- Unsalted Butter: Melted for richness and helps give the brownies their fudgy texture.
- Unsweetened Cocoa Powder: Look for natural cocoa powder for that authentic red velvet taste.
- Salt: Just a pinch balances sweetness and enhances flavor.
- Granulated Sugar: Sweetens the batter and cream cheese layer perfectly.
- Large Eggs: They bind everything together and add structure.
- Vanilla Extract: A must for that warm, sweet aroma.
- Apple Cider Vinegar (Optional): Adds a subtle tang and helps accentuate the red velvet flavor.
- Red Food Coloring: Gel works best to get those bold, vibrant hues without too much liquid.
- All-Purpose Flour: Provides structure, but using the right amount keeps the brownies tender.
- Full-Fat Cream Cheese: Room temperature is key for a smooth, mixable cream cheese layer.
Variations
I love experimenting, and one of the best parts about this Red Velvet Brownies with Cream Cheese Layer Recipe is how easy it is to tweak for your taste or dietary needs. Don’t hesitate to personalize it based on what you have on hand or preferences in your house.
- Gluten-Free Version: I swapped all-purpose flour for almond or oat flour once, and while the texture changed slightly, it was still delicious and held together well.
- Chocolate Chips Added: Once, I sprinkled mini white chocolate chips over the cream cheese layer before baking—such a nice melty surprise.
- Vegan Adaptation: Using vegan butter and cream cheese substitutes works, though it changes the texture a bit. I recommend it if you’re up for experimentation!
- Less Sweet Cream Cheese Layer: I sometimes reduce sugar in the cream cheese by a tablespoon when we want less sweetness overall, and it still tastes amazing.
How to Make Red Velvet Brownies with Cream Cheese Layer Recipe
Step 1: Prepare Your Batter
Start by melting your butter gently—microwave or stovetop works fine—and whisk in the cocoa powder and salt until smooth. Then stir in the sugar, eggs one at a time, and add your vanilla extract plus the optional vinegar (it really gives a slight lift to the red velvet flavor). When it’s all combined, mix in the red food coloring until you’re happy with that signature vibrant color. Finally, fold in the flour just until blended; don’t over-mix or your brownies might get tough!
Step 2: Make the Cream Cheese Layer
In a separate bowl, beat the cream cheese with sugar, vanilla, and egg until creamy and smooth. This layer is what sets this recipe apart—so take your time making sure it’s lump-free and spreadable. Room temperature cream cheese really helps to avoid clumps and gives that silky texture you want.
Step 3: Layer and Bake
Pour half of the red velvet brownie batter into your prepared baking pan and gently spread the cream cheese mixture on top. Then dollop and spread the remaining brownie batter over the cream cheese layer. Don’t worry if the layers swirl together a bit—that marbling effect is beautiful and delicious! Bake at 350°F (175°C) for about 35-40 minutes, or until a toothpick inserted into the red velvet layer comes out with just a few crumbs attached. Let cool before cutting to let the layers set nicely.
How to Serve Red Velvet Brownies with Cream Cheese Layer Recipe
Garnishes
When I serve these brownies, I like to keep garnishes simple so the colors and layers shine. A light dusting of powdered sugar or a few fresh raspberries on top adds an elegant touch without overwhelming the flavors. For a festive vibe, a sprinkle of crushed candy canes or a drizzle of dark chocolate pairs wonderfully.
Side Dishes
I often pair these delicious Red Velvet Brownies with a scoop of vanilla ice cream or a simple cup of coffee or tea. They’re rich enough on their own, so I like to keep sides light—maybe a bowl of fresh berries or a dollop of whipped cream if I’m feeling fancy.
Creative Ways to Present
For birthdays or Valentine’s Day, I’ve layered these brownies in a pretty glass trifle dish with whipped cream and strawberries for a show-stopping dessert. Another time, I cut them into bite-sized squares and served them on a decorative platter with little dessert forks for a party—it was a big hit and impressed guests with how visually stunning these look up close!
Make Ahead and Storage
Storing Leftovers
I usually keep leftover brownies in an airtight container stored at room temperature for up to 3 days, but if your kitchen is warm, the fridge is better to keep that cream cheese layer fresh. Just bring them to room temp before serving for the best texture.
Freezing
Freezing works surprisingly well! I slice the brownies into individual squares, wrap each tightly in plastic wrap, then place them in a freezer bag. They keep well for up to 3 months. When I want to enjoy one, I just thaw it overnight in the fridge and it tastes almost as fresh as the day I baked it.
Reheating
To reheat, I pop a brownie square in the microwave for about 15 seconds just to take the chill off—any longer and you risk melting the cream cheese layer too much. Alternatively, a quick warm-up in a low oven (300°F/150°C) for about 5-7 minutes works nicely if you want it a little gooey.
FAQs
-
Can I use regular food coloring instead of gel for the red velvet brownies?
You can absolutely use liquid food coloring, but I recommend gel because it gives a much richer, more vibrant color without adding extra liquid to your batter. Too much liquid can affect the brownies’ texture, making them less fudgy.
-
Why is there vinegar in the recipe?
The vinegar helps react with the cocoa powder and enhances the tangy flavor typical of red velvet. It also helps keep the brownies moist and tender. If you don’t have vinegar on hand, you can skip it, but I find it makes a subtle difference.
-
How do I know when the brownies are done baking?
Use a toothpick inserted into the red velvet layer: it should come out with a few moist crumbs but not wet batter. The cream cheese layer can be a bit soft, but the edges should pull away slightly from the pan. Be careful not to overbake or the brownies’ll dry out.
-
Can I make these brownies in advance?
Yes! These brownies actually taste fantastic a day after baking once all the flavors have melded. You can also make them a couple of days ahead and store properly refrigerated, or freeze as described above for a longer time.
-
Is there a way to make these brownies less sweet?
Definitely. You can reduce the sugar slightly in both the brownie and cream cheese layers, but be cautious as sugar not only sweetens but also impacts texture. I usually cut back a tablespoon in the cream cheese layer if I want less sweetness without compromising consistency.
Final Thoughts
This Red Velvet Brownies with Cream Cheese Layer Recipe holds a special place in my kitchen because it’s that perfect mix of playful color and comforting flavor. I love pulling it out for celebrations, but honestly, it’s a treat I don’t wait for holidays to enjoy. If you want a dessert that’s stunning, approachable, and will impress your friends (or your own sweet tooth), give this recipe a try—you’ll be so glad you did!
PrintRed Velvet Brownies with Cream Cheese Layer Recipe
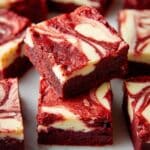
These Red Velvet Brownies combine the rich, fudgy texture of classic brownies with the vibrant color and subtle tang of red velvet cake, topped with a creamy, sweetened cream cheese layer. Perfectly moist and decadent, these brownies are a stunning treat for any occasion.
- Prep Time: 15 minutes
- Cook Time: 30 minutes
- Total Time: 45 minutes
- Yield: 16 brownies 1x
- Category: Dessert
- Method: Baking
- Cuisine: American
Ingredients
Brownie Batter
- ½ cup (1 stick/115g) unsalted butter, melted
- 3 tablespoons (20g) unsweetened cocoa powder
- ¼ teaspoon salt
- ¾ cup plus 2 tablespoons (175g) granulated sugar
- 2 large eggs
- ¾ teaspoon vanilla extract
- ½ teaspoon apple cider vinegar (or distilled white vinegar), optional
- 2–3 teaspoons red food coloring (gel preferred)
- ⅔ cup (95g) all-purpose flour
Cream Cheese Layer
- 8 ounces (225g) full-fat cream cheese, room temperature
- ¼ cup (50g) granulated sugar
- 1 large egg
- ½ teaspoon pure vanilla extract
Instructions
- Prepare Brownie Batter: In a mixing bowl, combine the melted butter, cocoa powder, salt, and sugar. Whisk until smooth and well blended.
- Add Eggs and Flavorings: Beat in eggs one at a time until fully incorporated, then stir in vanilla extract and vinegar if using. Add the red food coloring gradually until the desired vibrant red color is achieved.
- Mix in Flour: Gently fold in the all-purpose flour until just combined, taking care not to overmix to keep the brownies tender.
- Prepare Cream Cheese Layer: In a separate bowl, beat the cream cheese with sugar until smooth. Add the egg and vanilla extract, mixing until the mixture is silky and lump-free.
- Assemble and Bake: Pour the brownie batter into a greased or parchment-lined 8×8 inch baking pan. Dollop the cream cheese mixture evenly over the batter, then use a knife or skewer to swirl it into the batter creating a marbled effect.
- Bake the Brownies: Bake in a preheated oven at 350°F (175°C) for approximately 25-30 minutes or until a toothpick inserted near the center comes out with a few moist crumbs.
- Cool and Serve: Allow the brownies to cool completely in the pan on a wire rack before slicing into squares. This cooling helps them set and enhances their rich texture.
Notes
- Using gel food coloring gives a more vibrant red color without changing the batter’s consistency.
- The vinegar is optional but helps enhance the classic red velvet flavor by reacting with the cocoa powder.
- Do not overmix when adding flour to avoid tough brownies.
- Let the brownies cool completely before cutting for clean slices.
- Store leftovers in an airtight container in the refrigerator for up to 5 days.
Keywords: red velvet brownies, cream cheese brownies, fudgy brownies, red velvet dessert, homemade brownies