Healthy Lemon Bars Recipe
I’m genuinely excited to share this Healthy Lemon Bars Recipe with you because it’s one of those treats that feels indulgent yet leaves you light and energized after eating. What makes these lemon bars so special is their bright, zingy lemon flavor balanced perfectly with a subtly sweet, wholesome crust—plus, they’re made with nourishing ingredients like coconut flour and maple syrup instead of refined sugar. Whenever I need a dessert that tastes like a classic lemon bar but aligns with clean eating, this recipe never disappoints.
These bars work beautifully for everything from afternoon pick-me-ups to dessert at dinner parties when you want to impress without loading up on sugar. The Healthy Lemon Bars Recipe is forgiving, straightforward, and adaptable, which is perfect if you’re new to baking or just want a reliable go-to that feels a little fancy. I think you’ll love how bright and fresh they taste, and making them will be a fun kitchen moment you’ll want to repeat.
Ingredients You’ll Need
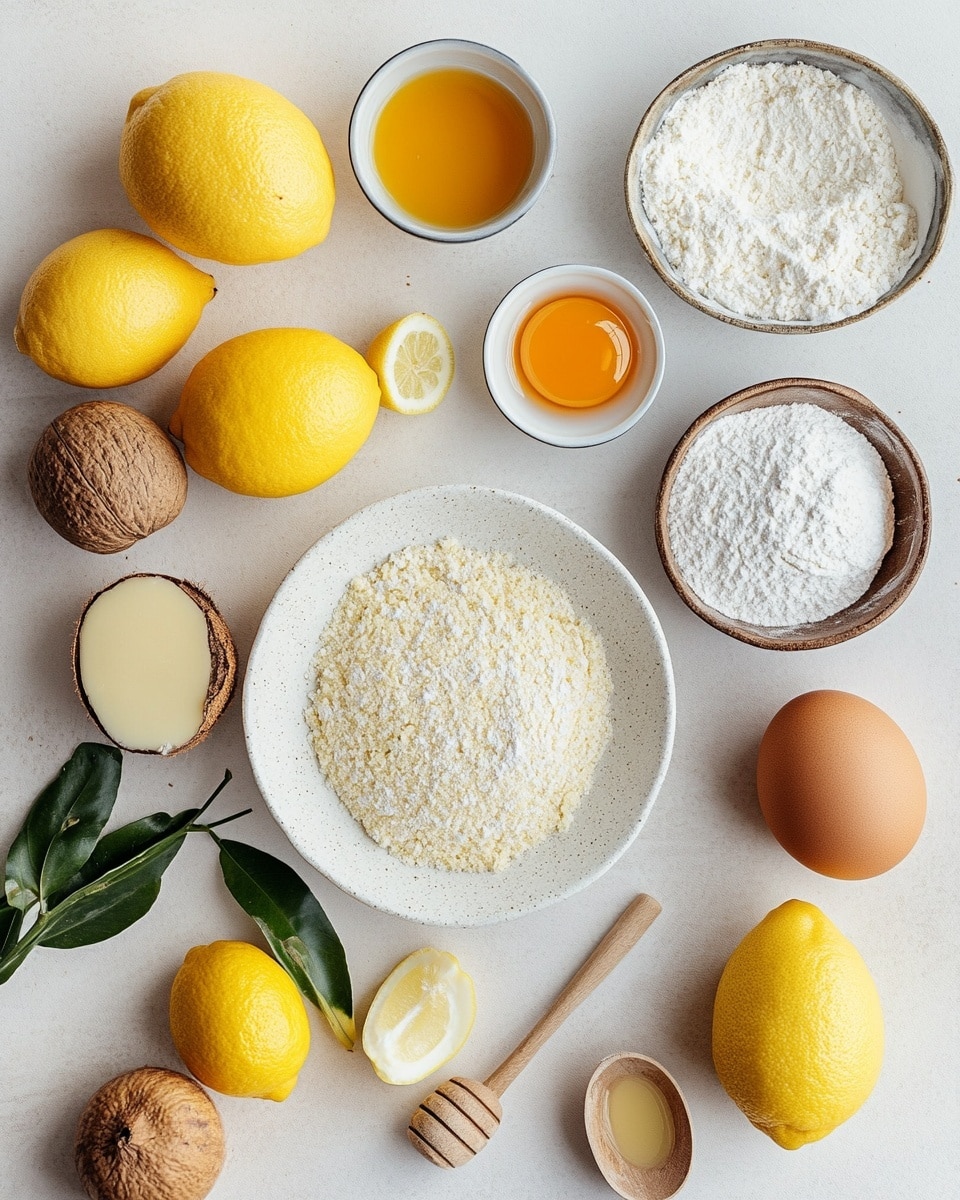
The ingredients for this Healthy Lemon Bars Recipe come together effortlessly, blending wholesome, pantry-friendly staples that create a tender crust and tangy, custardy lemon filling. When shopping, try to pick fresh lemons for the best zest and juice flavors, and if you can swing it, using high-quality maple syrup really elevates the natural sweetness.
- Maple syrup: A natural sweetener that lends a mild caramel note while keeping things refined sugar-free.
- Ghee: This clarified butter imparts a rich flavor and helps the crust hold together without being greasy.
- Large eggs: Eggs bind everything wonderfully and add to that soft, custardy texture in the lemon filling.
- Bob’s Red Mill Coconut Flour: Adds structure with fiber and absorbs moisture nicely—key to that tender crust.
- Bob’s Red Mill Tapioca Flour: Keeps the bars chewy and smooth, especially in the filling.
- Lemon zest: For a punch of bright, citrusy aroma that wakes up every bite.
- Vanilla extract: A little depth of sweetness that rounds out the flavors.
- Freshly squeezed lemon juice: Essential for tang and acidity, never use bottled for this recipe!
Variations
I love that you can easily personalize this Healthy Lemon Bars Recipe to suit your tastes or dietary needs. Sometimes I tweak the sweetener or add different citrus zests for a fresh twist, and I encourage you to play with it too!
- Less sweet version: If you prefer a tangier bar, reduce the maple syrup by a tablespoon or two; I’ve done this when I want a brighter bite.
- Orange zest addition: Swapping half the lemon zest for orange zest adds a lovely floral note—great for spring gatherings.
- Nut-free crust: This crust is naturally nut-free thanks to coconut and tapioca flour, perfect if you’re allergic or avoiding nuts.
- Vegan adaptation: While I haven’t tried this one myself, you could experiment by replacing eggs with a flax egg, but expect a denser texture.
How to Make Healthy Lemon Bars Recipe
Step 1: Mix the Crust Ingredients
Start by combining the maple syrup, melted ghee, and one large egg in a bowl—whisk until everything is smoothly blended. Then add the coconut flour, tapioca flour, lemon zest, and vanilla extract. Mix gently but thoroughly until it forms a thick, slightly sticky dough. If it feels too dry, a splash of water or a little extra ghee can help, but the dough should hold together when pressed.
Step 2: Press and Bake the Crust
Line an 8×8 inch baking pan with parchment paper, leaving some overhang so you can easily lift the bars later. Press the dough evenly into the pan using your fingers or the back of a spoon. Bake the crust at 350°F (175°C) for about 15 minutes, or until the edges are golden and it smells delightfully nutty—but don’t let it burn! This initial bake ensures a firm, slightly crisp base.
Step 3: Prepare the Lemon Filling
While your crust bakes, whisk together the lemon juice, lemon zest, maple syrup, eggs, and tapioca flour in a medium bowl. Make sure the maple syrup is well incorporated, and the tapioca flour is lump-free. This mixture will thicken into that luscious, custard-like filling once baked.
Step 4: Bake the Lemon Bars
Pour the lemon filling over your partially baked crust and return the pan to the oven. Bake for about 20-25 minutes at 350°F (175°C) until the filling is set but still has a little jiggle—think custard consistency, not fully firm. Let the bars cool completely in the pan; this cooling step helps them firm up for perfect slicing.
Step 5: Chill and Slice
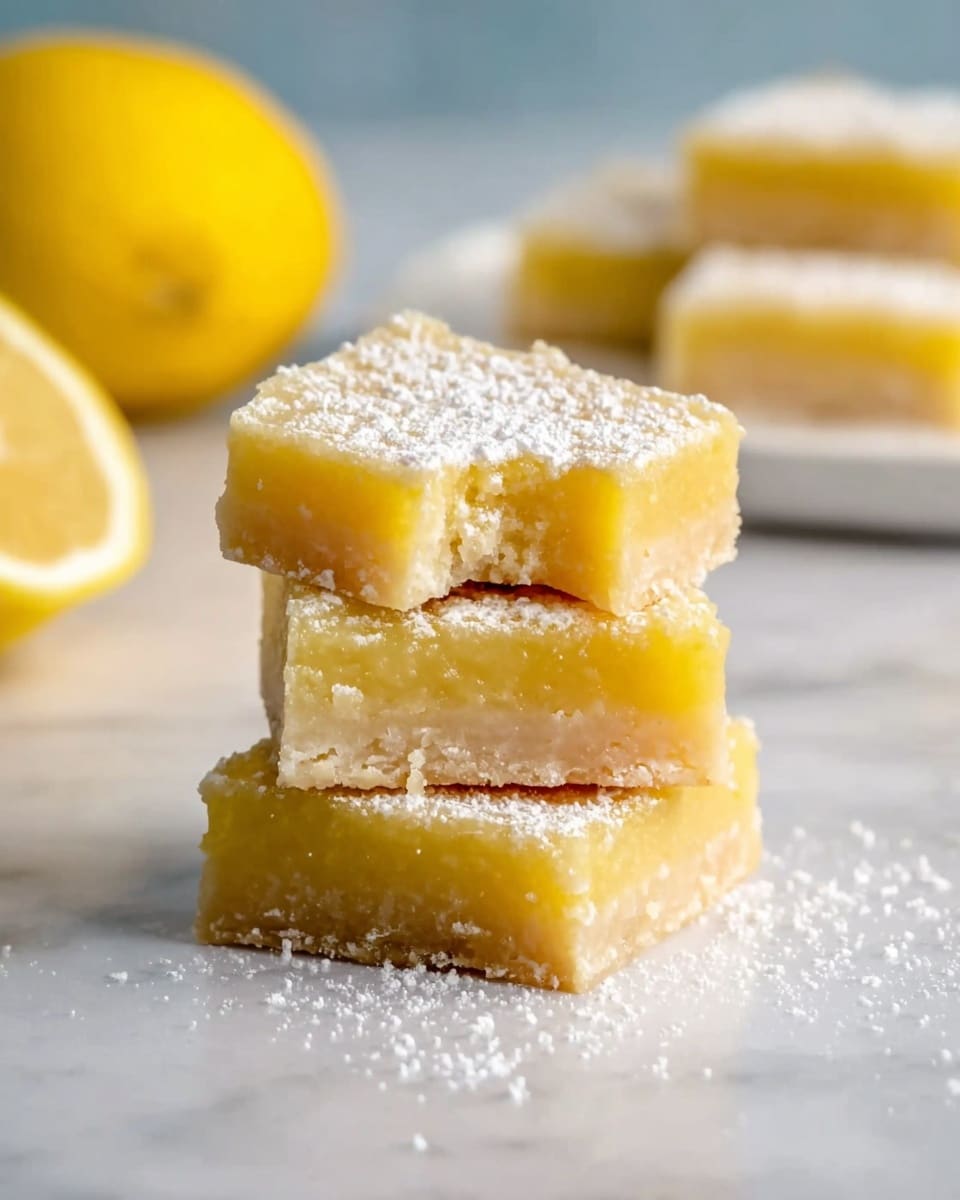
Once cooled to room temperature, pop the bars into the fridge for at least an hour to set fully. Chilling makes them easier to cut and enhances the texture. Use the parchment overhang to lift them out, then slice into squares or rectangles with a sharp knife. Wipe your knife between cuts for clean edges.
How to Serve Healthy Lemon Bars Recipe
Garnishes
I usually dust these lemon bars lightly with powdered sugar or a sprinkle of extra lemon zest for that pop of color and tang. Sometimes, I add a few fresh mint leaves or edible flowers on top—adds a nice touch if you’re serving guests. A little dollop of Greek yogurt on the side also pairs wonderfully if you want some creaminess.
Side Dishes
These bars pair beautifully with a cup of herbal tea or a light coffee in the afternoon. For brunch spreads, I love serving them alongside fresh berries and a simple green salad to balance the sweet-tart flavor.
Creative Ways to Present
For parties or holidays, try arranging the lemon bars on a pretty platter with alternating slices of candied lemon peel or fresh raspberries. You can even cut them into mini squares or wedges and serve in paper cupcake liners for easy grab-and-go treats. I once topped mine with a thin layer of coconut whipped cream—such a hit!
Make Ahead and Storage
Storing Leftovers
I usually store leftover lemon bars in an airtight container in the fridge; they stay fresh and moist for about 4-5 days. Keeping them chilled prevents the crust from getting too soft and keeps that lovely lemon filling nice and firm.
Freezing
Freezing works great if you want to prep these bars in advance. I cut them into squares, wrap each individually in plastic wrap, then place them in a freezer-safe bag. They hold up well for up to 2 months. When you’re ready, just thaw them overnight in the fridge.
Reheating
I recommend enjoying these lemon bars cold or at room temperature, but if you want to warm them just a bit, a quick 10-15 second zap in the microwave does the trick without melting the filling or making the crust soggy.
FAQs
-
Can I use regular flour instead of coconut flour in this Healthy Lemon Bars Recipe?
You can substitute regular all-purpose flour, but keep in mind that coconut flour absorbs much more moisture than regular flour, so you’ll need less of it. If switching, use about half the amount of coconut flour and adjust liquids accordingly to avoid a soggy crust.
-
What’s the best way to get fresh lemon juice and zest for this recipe?
I highly recommend using fresh lemons for both juice and zest. To zest, use a microplane grater before juicing to capture all that citrus oil and flavor. This freshness is key for the bright, tangy flavor that makes these lemon bars so delicious.
-
Can I make this recipe vegan?
The recipe calls for eggs and ghee, which aren’t vegan, but some bakers have had success using flax eggs or chia eggs as an egg substitute and plant-based butter for ghee. Keep in mind texture and baking times may vary, so some trial and error might be needed.
-
How do I know when the lemon bars are done baking?
The filling should look set but with a slight wobble in the center, similar to a custard. It will firm up as it cools, so avoid overbaking to prevent dryness or cracking.
Final Thoughts
This Healthy Lemon Bars Recipe has become a personal favorite because it’s both refreshing and comforting, blending the zing of lemon with nourishing ingredients that don’t weigh you down. I really believe you’ll find it’s the perfect balance of sweet and tart—and that satisfying texture you crave in a lemon bar. Give it a try, and don’t be surprised if it quickly becomes a staple in your recipe box.
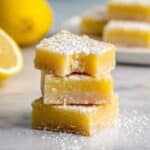
PrintHealthy Lemon Bars Recipe
This Healthy Lemon Bars recipe offers a delicious and nutritious twist on the classic dessert, using natural sweeteners like maple syrup and gluten-free flours such as coconut and tapioca flour. The bars feature a rich, buttery crust made with ghee and a tangy, refreshing lemon filling bursting with fresh lemon juice and zest. Perfect for those seeking a gluten-free, lower-sugar treat without sacrificing flavor.
- Prep Time: 15 minutes
- Cook Time: 35 minutes
- Total Time: 50 minutes
- Yield: 9–12 bars 1x
- Category: Dessert
- Method: Baking
- Cuisine: American
- Diet: Gluten Free
Ingredients
Crust
- 1/4 cup maple syrup
- 1/3 cup ghee, melted and cooled
- 1 large egg
- 2/3 cup Bob’s Red Mill Coconut Flour
- 1/4 cup Bob’s Red Mill Tapioca Flour
- ½ teaspoon lemon zest (zest of about 1/2 lemon)
- 2 teaspoons vanilla extract
Filling
- 1/2 cup lemon juice, freshly squeezed (about 4–5 lemons depending on size)
- 1 1/2 tablespoons lemon zest (about zest of 2 lemons)
- 1/3 cup maple syrup
- 4 large eggs
- 2 tablespoons tapioca flour
Instructions
- Prepare the crust: In a medium bowl, whisk together the melted and cooled ghee with maple syrup and one large egg until well combined. Add the coconut flour, tapioca flour, lemon zest, and vanilla extract, then stir until a smooth dough forms. Press the dough evenly into the bottom of a greased or parchment-lined baking pan.
- Bake the crust: Preheat your oven to 350°F (175°C). Bake the crust for about 12-15 minutes, or until lightly golden and set. Remove from the oven and let it cool slightly while preparing the filling.
- Make the filling: In a separate bowl, whisk together the freshly squeezed lemon juice, lemon zest, maple syrup, 4 eggs, and tapioca flour until the mixture is smooth and slightly thickened.
- Combine and bake: Pour the lemon filling over the slightly cooled crust. Return the pan to the oven and bake for an additional 18-22 minutes or until the filling is set and edges are slightly firm. A toothpick inserted in the center should come out clean.
- Cool and serve: Allow the lemon bars to cool completely at room temperature, then transfer to the refrigerator to chill for at least 2 hours before slicing. This helps the bars set firmly and enhances the texture. Cut into squares and serve chilled or at room temperature.
Notes
- Use fresh lemons for the best lemon flavor in the filling and zest.
- Ensure ghee is melted but not hot to avoid cooking the egg in the crust mixture prematurely.
- For a vegan version, substitute eggs with flax eggs and use a vegan butter alternative instead of ghee, though texture may vary.
- Store leftovers in an airtight container in the refrigerator for up to 5 days.
- To enhance tartness, adjust lemon juice quantity to taste.
Keywords: healthy lemon bars, gluten free lemon bars, lemon dessert, maple syrup dessert, coconut flour lemon bars, low sugar lemon bars, lemon zested dessert