Festive Hard Candy Recipe for Holidays Recipe
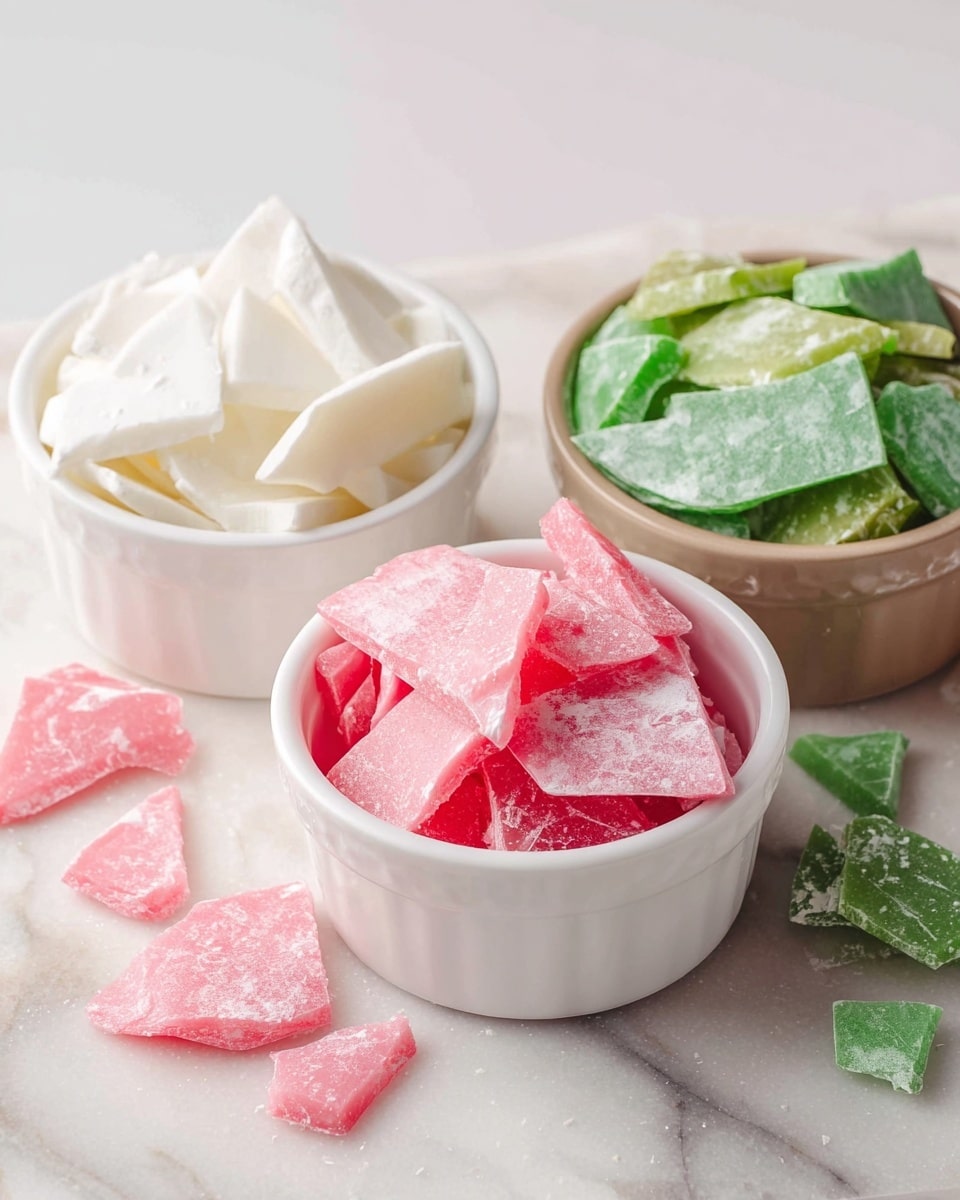
There’s something truly magical about making your own candy, especially during the holidays. This Festive Hard Candy Recipe for Holidays Recipe brings back memories of cozy afternoons spent in my kitchen, wrapped in the warmth of family chatter and the sweet scent of peppermint in the air. The best part? You don’t need fancy equipment or a candy thermometer that’s intimidating to use—just a little patience and love. Plus, the colorful red and green drops make these candies perfect for holiday gift-giving or decorating your festive cookie trays.
If you’re anything like me, you’ll love how this Festive Hard Candy Recipe for Holidays Recipe lets you customize the flavors and colors to exactly what you crave that season. I’ve found it’s an ideal treat for parties or just to tuck inside little cellophane bags for neighbors and friends. Trust me, once you master this recipe, it becomes your go-to sweet fix for every holiday gathering – and you’ll enjoy impressing everyone with your homemade goodies.
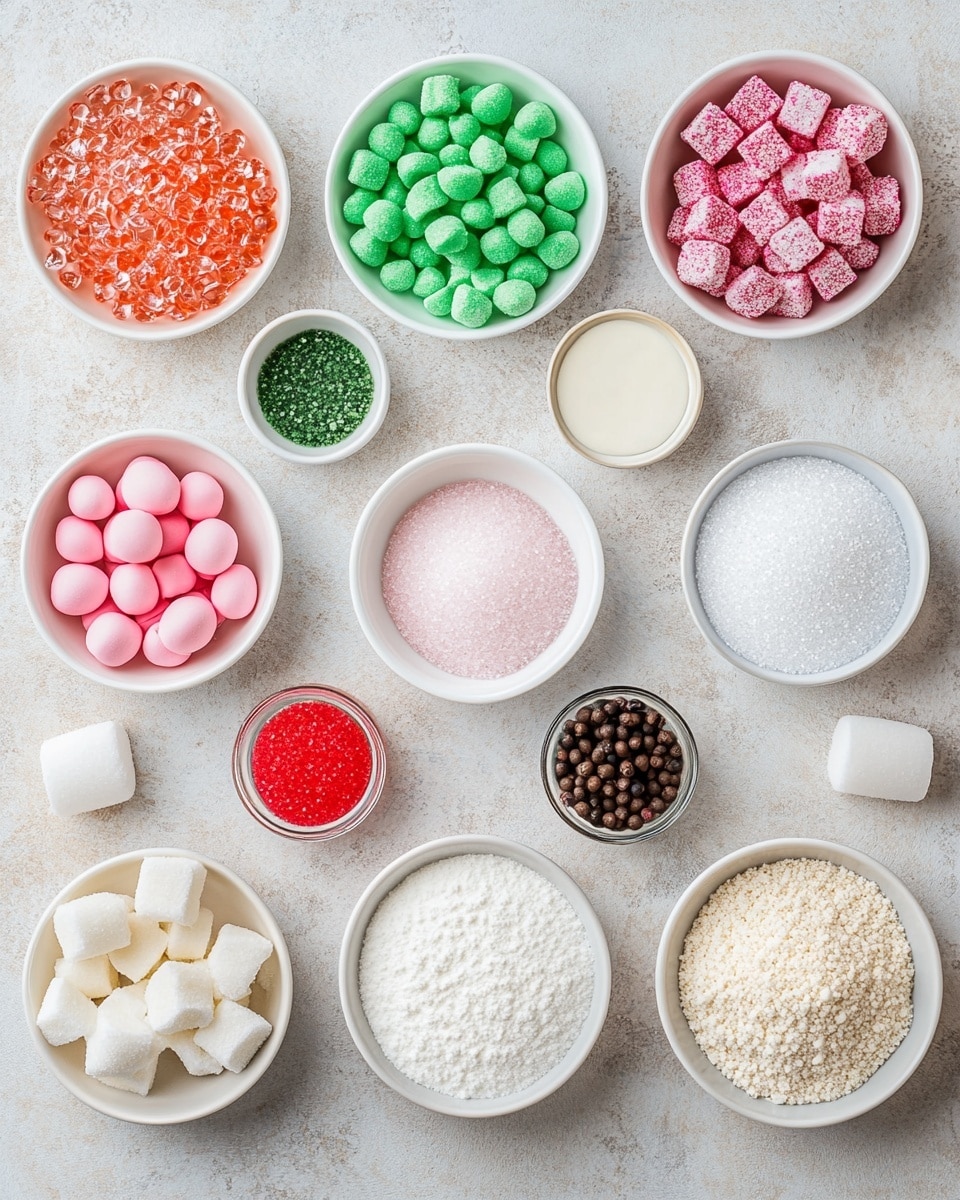
Ingredients You’ll Need
These ingredients work together beautifully to create that perfectly hard, shiny candy texture with festive flavor and color. If you get good-quality corn syrup and pure extracts, your candies will taste even better and look professional.
- Granulated sugar: The backbone of your candy, it caramelizes just right to give that classic hard candy crunch.
- Water: Helps dissolve the sugar evenly so it cooks without burning—don’t skip or reduce it!
- Clear corn syrup: Prevents crystallization and keeps your candy smooth—this is why your candy won’t turn grainy.
- Food coloring (red and green liquid drops): I prefer liquid drops for vibrant, even coloring—gel or paste can sometimes thicken the mixture.
- Flavoring extract or flavor oil: Peppermint is a classic, but you can have fun with vanilla, strawberry, or even cotton candy flavor to customize your candy’s personality.
- Powdered sugar: For coating the finished candy, it stops sticking and adds a delicate finish.
Variations
While I adore the peppermint-red-and-green classic combo, I’ve had tons of fun experimenting with other flavors and even shapes. Feel free to make this recipe your own—easy swaps can turn it into a completely new holiday treat!
- Flavor twists: I once tried cinnamon oil for a warm bite—delicious and festive without overpowering the candy’s snap.
- Dietary tweaks: Want to avoid corn syrup? Try using glucose syrup or golden syrup, though texture might be slightly different.
- Color play: Substitute red and green with blue and white for winter-themed candies or go rainbow for a birthday twist!
- Shape changes: Pour the hot candy into silicone molds shaped like stars, snowflakes, or even candy canes for extra holiday spirit.
How to Make Festive Hard Candy Recipe for Holidays Recipe
Step 1: Combine Sugar, Water, and Corn Syrup
Start by adding the granulated sugar, water, and clear corn syrup to a heavy-bottomed saucepan. Give it a gentle stir to mix everything evenly, but then resist stirring again once it heats up—that can cause pesky crystallization. I always find it helps to clip a candy thermometer to the pan’s side so you can keep an eye on the temperature without opening the lid.
Step 2: Heat to the Hard Crack Stage
Bring your mixture to a boil over medium heat. This is where the magic happens—watch for the temperature to hit about 300°F (149°C), known as the hard crack stage. It usually takes 10-15 minutes, depending on your stove. Around this point, bubbles will get smaller and the syrup will look a bit more syrupy and clear. To avoid burning, watch closely and lower heat if it starts browning.
Step 3: Add Color and Flavor
Once you hit that temperature, remove the pan from heat right away. Now’s the time to stir in the festive red and green food coloring drops carefully—remember, a little goes a long way with liquid colors. Then, add your extract or flavor oil, stirring gently but quickly so the candy sets before hardening.
Step 4: Pour and Shape Your Candy
Pour the hot candy carefully onto a greased or silicone-lined baking sheet, or into molds if you’re using them. I always grease my spatula or offset knife so I can spread or score the candy before it fully hardens. Once it cools for a few minutes, break or cut the candy into bite-sized pieces.
Step 5: Coat with Powdered Sugar
Toss the cooled hard candies lightly in powdered sugar to prevent sticking and to add just a little snowy-dusted charm. This step makes them easier to handle and store.
How to Serve Festive Hard Candy Recipe for Holidays Recipe
Garnishes
To make your setup extra special, I like to display these hard candies alongside fresh peppermint sprigs or crushed candy canes sprinkled around a serving tray. The minty scent is a lovely touch and amps up the holiday mood.
Side Dishes
My go-to pairing is hot cocoa or warm apple cider—both drinks complement the crisp, sweet hard candy perfectly and make for an irresistible holiday combo. These candies also work well as a quick palate cleanser between rich holiday cookies.
Creative Ways to Present
For gifting, I love packaging this Festive Hard Candy Recipe for Holidays Recipe in clear cello bags tied with festive ribbons or tucking them inside decorative jars. At parties, try layering different colors in glass containers for a cheerful candy buffet—it’s always a crowd-pleaser and creates a beautiful centerpiece.
Make Ahead and Storage
Storing Leftovers
I store extra hard candies in airtight containers at room temperature, separating layers with parchment paper dusted in powdered sugar. This keeps them from sticking together and helps maintain that delightful crunch for weeks if kept in a cool, dry place.
Freezing
I’ve tried freezing these candies, but honestly, I prefer not to—the texture doesn’t improve and condensation can make them sticky. Room-temperature storage works best to preserve their crispness.
Reheating
If you want to reshape leftovers or smooth out cracked pieces, gently reheat small amounts at very low heat on the stove or in a microwave with short bursts, stirring between intervals. Just be careful—they melt fast!
FAQs
-
Can I use a candy thermometer for this Festive Hard Candy Recipe for Holidays Recipe?
Yes! A candy thermometer is really helpful to hit the perfect hard crack temperature (300°F or 149°C). If you don’t have one, you can do a cold water test—drop a bit of syrup in cold water and see if it hardens into brittle threads. But the thermometer makes it so much easier and less stressful.
-
Why did my hard candy turn grainy or cloudy?
This usually happens if sugar crystals form during cooking, often caused by stirring once the mixture starts boiling or if sugar granules aren’t fully dissolved before boiling. To avoid this, don’t stir after it starts boiling and wipe down the sides of your pan with a wet pastry brush to remove stray crystals.
-
Can I substitute corn syrup with something else?
You can try using glucose syrup or even golden syrup as alternatives, but corn syrup really helps prevent crystallization. Substitutes might change texture slightly, so keep an eye on your candy as it cooks.
-
How long does this Festive Hard Candy Recipe for Holidays Recipe keep?
Stored in an airtight container at room temperature, your hard candy can stay fresh and crisp for up to three weeks—perfect for gifting ahead of time or enjoying through the season.
-
Can I make this recipe without food coloring?
Absolutely! The candy will still taste amazing; it just won’t have that festive red and green look. You could also try natural colorings like beet juice or spirulina powder, but those may affect flavor and texture slightly.
Final Thoughts
I always find making this Festive Hard Candy Recipe for Holidays Recipe fills the kitchen—and my heart—with joy. There’s something so rewarding about crafting your own candies, and sharing them feels even better. It’s a simple recipe but one that brings holiday cheer in spades. Give it a try this season, and I promise you’ll have fun with every colorful, crunchy piece you make.
PrintFestive Hard Candy Recipe for Holidays Recipe

This Hard Candy Recipe for Holidays is a classic, vibrant treat perfect for festive occasions. Made with simple ingredients like sugar, water, corn syrup, and flavored with festive extracts and colors, these candies are easy to prepare and great for gifting or sharing at holiday parties. The candies are coated with powdered sugar to prevent sticking and add a touch of sweetness.
- Prep Time: 10 minutes
- Cook Time: 15 minutes
- Total Time: 25 minutes
- Yield: Approximately 40 small candy pieces 1x
- Category: Candy
- Method: Stovetop
- Cuisine: American
Ingredients
Main Ingredients
- 1 cup granulated sugar
- ⅓ cup water
- ⅓ cup clear corn syrup
Flavor and Color
- 42 drops Food coloring (liquid works best); Green 22 drops, Red 20 drops
- Flavoring extract (peppermint, vanilla, etc.) or flavor oil (strawberry, cotton candy, etc.), quantity to taste
Finishing
- Powdered sugar for coating
Instructions
- Prepare the Candy Pan: Grease a baking sheet lightly or line it with parchment paper to prevent sticking. Have it ready before you start cooking the candy mixture.
- Combine Ingredients: In a medium heavy saucepan, combine granulated sugar, water, and clear corn syrup. Stir gently to mix the ingredients without splashing sugar onto the pan sides.
- Cook the Mixture: Place the saucepan over medium heat and stir continuously until the sugar dissolves completely. Attach a candy thermometer to the pan without touching the bottom.
- Boil to Hard Crack Stage: Bring the mixture to a boil without stirring. Allow it to reach 300°F (149°C), which is the hard crack stage. This ensures your candy hardens properly.
- Add Color and Flavor: Remove the pan from heat immediately after reaching the desired temperature. Quickly stir in food coloring drops (green and red as specified) and your choice of flavoring extract or flavor oil. Stir well to distribute evenly.
- Pour and Shape: Carefully pour the hot candy mixture onto the prepared baking sheet. Let it spread thinly. Allow the candy to cool slightly until firm but still pliable, then score or break into pieces as desired.
- Coat with Powdered Sugar: Once cooled completely, dust the hard candy pieces with powdered sugar to prevent them from sticking together.
- Store: Store the candy in an airtight container at room temperature to keep them fresh and crisp.
Notes
- Use a candy thermometer for precise temperature control to avoid undercooking or burning the candy.
- Work quickly when adding coloring and flavoring because the candy hardens fast.
- Use gloves to handle candy when shaping or scoring to avoid burns.
- Store candy in a dry place to prevent it from becoming sticky or melting.
- Powdered sugar helps prevent sticking but can be substituted with cornstarch if desired.
Keywords: hard candy, holiday candy, homemade candy, peppermint candy, festive sweets, sugar candy, candy recipe