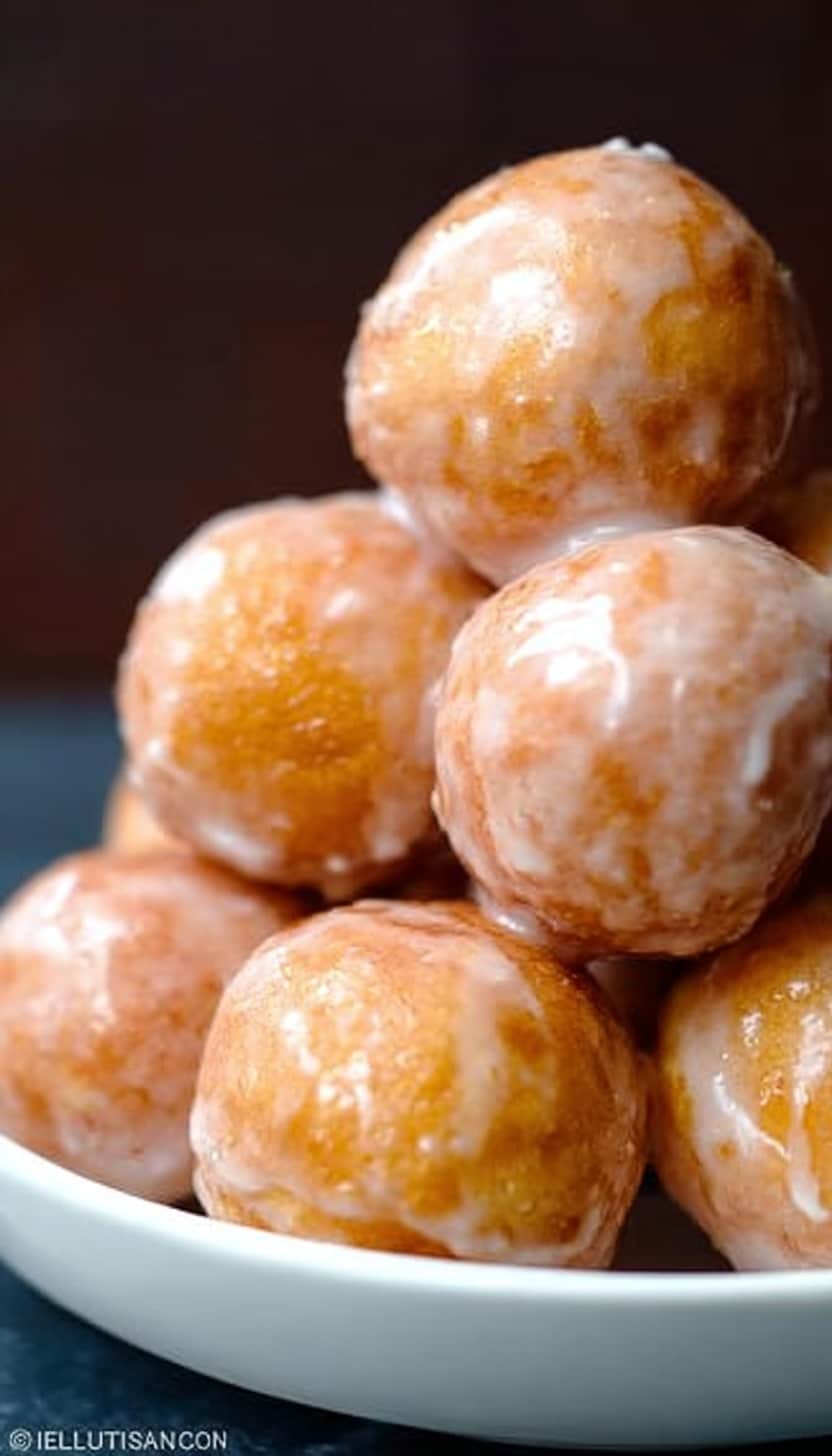
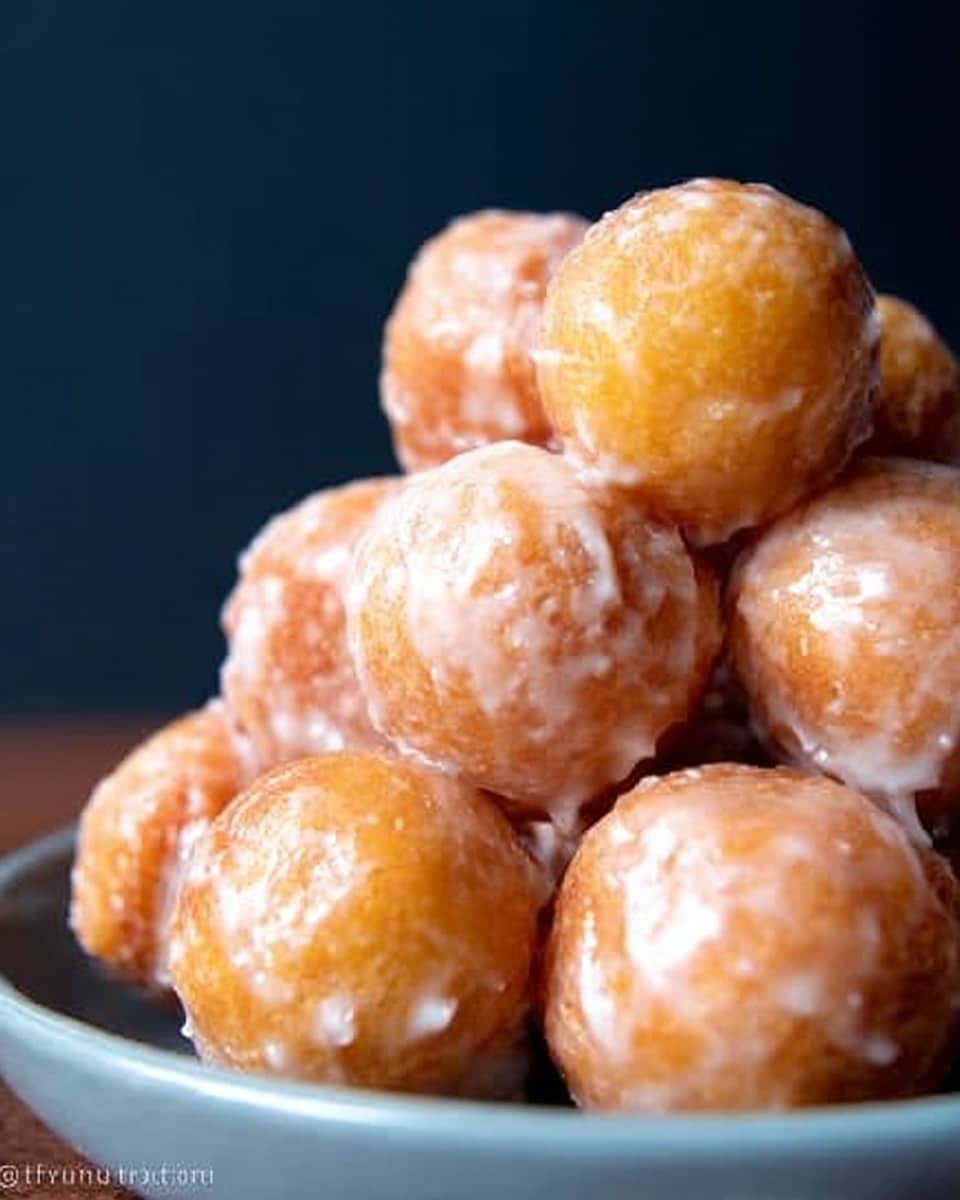
Easy Homemade Glazed Doughnut Holes Recipe
If you’ve ever craved that perfect bite-sized treat—crispy, fluffy, and dripping with sweet glaze—then this Easy Homemade Glazed Doughnut Holes Recipe is about to become your new best friend. I remember the first time I made these in my kitchen; the aroma alone was enough to pull the whole family into the room, eagerly waiting for that warm, sugary bite. What makes this recipe so special is how simple it is, yet the results feel like you just stepped out of a cozy doughnut shop.
These doughnut holes work wonders for an easy breakfast, an afternoon snack, or even a little weekend indulgence you deserve. Plus, because they’re homemade, you know exactly what’s going into them—no preservatives, just straight-up deliciousness! Trust me, once you try this Easy Homemade Glazed Doughnut Holes Recipe, you’ll want to whip them up anytime the doughnut craving hits.
Ingredients You’ll Need
It’s amazing how a handful of simple ingredients come together to make such an irresistible treat. These basics already complement each other perfectly, and you’ll likely have many of them in your pantry right now.
- Confectioners’ sugar: This fine sugar dissolves beautifully into the glaze, giving it that perfect silky texture.
- Whole milk: Adds creaminess to both the dough and glaze, making everything tender and smooth.
- Vanilla extract: I always pick pure vanilla because its warm aroma is subtle but so comforting in the glaze.
- Vegetable oil: For frying, I prefer vegetable oil because it’s neutral and has a high smoke point—it crisps the doughnut holes without burning.
- Milk: Used in the dough for moisture and a tender crumb.
- Large egg: Helps bind the dough and adds richness.
- All-purpose flour: The structure builder for these doughnuts, it’s what makes them pillowy soft inside.
- Sugar: Adds a touch of sweetness to the dough itself before glazing.
- Baking powder: This is your secret weapon for fluffy, light doughnut holes.
- Salt: Just a pinch to balance the sweetness and enhance flavors.
- Unsalted butter: Melted into the dough for a rich, tender bite that you’ll love.
Variations
I love how flexible this Easy Homemade Glazed Doughnut Holes Recipe is! Feel free to make it your own with a few tweaks—after all, baking is part science, part art, and totally fun.
- Chocolate glazed doughnut holes: Once you’re comfortable with the basic glaze, try mixing some cocoa powder into the glaze for a chocolatey twist—my kids went wild over this one!
- Baked version: If you prefer less frying, you can bake the doughnut holes—just brush them with melted butter before baking to keep them moist.
- Gluten-free version: Swapping all-purpose flour for a gluten-free flour blend works well, but I add a little xanthan gum to help with texture.
- Spiced variant: Add cinnamon or nutmeg to the dough for cozy, fall-inspired flavors.
How to Make Easy Homemade Glazed Doughnut Holes Recipe
Step 1: Mix Dry Ingredients Together
Start by whisking the all-purpose flour, sugar, baking powder, and salt together in a large bowl. I find that this not only helps evenly distribute the baking powder but also makes sure no lumps sneak into the dough later on. Set this aside while you prepare the wet ingredients.
Step 2: Combine Wet Ingredients
In a separate bowl, stir together the milk, egg, and melted unsalted butter. Make sure your butter is not too hot so you don’t scramble the egg—room temperature is perfect here. Once everything is mixed, slowly add the wet ingredients to the dry and stir just until combined. Don’t overmix; a few small lumps are okay.
Step 3: Heat the Oil and Prepare for Frying
Pour the vegetable oil into a deep, heavy pot or a deep fryer and heat it to about 350°F (175°C). I use a candy or deep-fry thermometer for accuracy because maintaining the right temperature is key—too hot and the doughnut holes burn on the outside before cooking through, too cool and they soak up oil and become greasy.
Step 4: Fry the Doughnut Holes
Using a small cookie scoop or two spoons, carefully drop spoonfuls of dough into the hot oil. Don’t overcrowd the pot; leaving enough space makes sure they fry evenly and turn golden brown. Fry them for about 2-3 minutes per side, flipping gently until every side is beautifully browned and cooked through.
Step 5: Prepare the Glaze
While your doughnut holes are frying, whisk together the confectioners’ sugar, whole milk, and vanilla extract in a bowl until smooth. This glaze is simple but magical—whip it up fresh every time to get that perfect glossy finish.
Step 6: Glaze the Doughnut Holes
Once the doughnut holes are golden and drained on paper towels, dunk each one into the glaze while they’re still warm. I like to use a slotted spoon for this and give them a quick swirl so the glaze coats every bite. Then, place them on a rack to let the glaze set—try not to eat them immediately, even though it’s hard!
How to Serve Easy Homemade Glazed Doughnut Holes Recipe
Garnishes
I like to sprinkle a little colorful sanding sugar or finely chopped nuts on top of the glaze for a festive touch, especially if serving to guests. Sometimes, a dash of cinnamon sugar on freshly glazed doughnut holes is all you need to jazz them up without overpowering that classic flavor.
Side Dishes
Pair these with a hot cup of coffee or a rich cup of hot chocolate. For a breakfast spread, I often serve them alongside fresh fruit or scrambled eggs to balance sweet and savory. The doughnut holes also shine as party finger food with fresh fruit and yogurt on the side.
Creative Ways to Present
For birthdays or special weekends, I’ve arranged doughnut holes on decorative skewers or placed them in colorful cupcake liners for easy grabbing. Creating a “doughnut hole tower” on a tiered plate looks charming and makes a great centerpiece, too. Trust me, presentation makes these little guys even more irresistible!
Make Ahead and Storage
Storing Leftovers
If you’re lucky enough to have leftovers, keep them in an airtight container at room temperature for up to two days. I’ve found that storing glazed doughnut holes in the fridge tends to make them a bit dense, so I avoid chilling unless it’s absolutely necessary.
Freezing
These doughnut holes freeze beautifully! Freeze them in a single layer on a baking sheet before transferring to a freezer-safe bag, glaze them after thawing. This way, you can enjoy fresh-tasting doughnut holes any time you want without starting from scratch.
Reheating
When reheating, pop doughnut holes into a warm oven at 300°F (150°C) for about 5 minutes to regain their crisp exterior. Avoid the microwave because it tends to make them soggy. After reheating, you can freshen up the glaze with a quick dip or drizzle for that just-made taste.
FAQs
-
Can I use other types of flour for this recipe?
Absolutely! While all-purpose flour is ideal for the perfect texture, you can substitute with whole wheat flour or a gluten-free blend. Just keep in mind the texture might be a bit denser with whole wheat, and gluten-free versions might need a binding agent like xanthan gum to hold together well.
-
How do I know if the oil is at the right temperature?
The safest way is to use a deep-fry or candy thermometer aiming for about 350°F (175°C). If you don’t have one, drop a small bit of dough into the oil—if it sizzles immediately and rises to the surface slowly, you’re good to go. Too fast bubbling or smoking oil means it’s too hot, so lower the heat accordingly.
-
Can I make the glaze in advance?
You can prepare the glaze a few hours ahead and store it covered at room temperature. Just give it a quick whisk before glazing your doughnut holes since the sugar may settle or thicken after sitting.
-
What can I do if the glaze is too thick or too runny?
If it’s too thick, add a splash more milk, one teaspoon at a time, until it reaches the perfect dipping consistency. If it’s too runny, sprinkle in more confectioners’ sugar gradually until it thickens up.
-
Is it necessary to use whole milk?
Whole milk adds richness and helps create that tender crumb, but you can use 2% or even a plant-based milk substitute if needed. Just expect a slight difference in the final texture and flavor.
Final Thoughts
Honestly, this Easy Homemade Glazed Doughnut Holes Recipe feels like a little celebration each time you make it. It’s simple, delightful, and reminds me of never missing out on small joys—even on busy days. I hope you try it and enjoy that warm, glazed goodness with your loved ones, making some fun memories along the way. You’ve got this, and I can’t wait for you to hear those “mmm” sounds around your kitchen!
PrintEasy Homemade Glazed Doughnut Holes Recipe

These Easy Homemade Glazed Doughnut Holes are soft, fluffy, and perfectly sweet, coated in a silky vanilla glaze. Perfect as a delightful snack or breakfast treat, these doughnut holes are deep-fried to golden perfection and finished with a homemade glaze that adds just the right amount of sweetness and shine.
- Prep Time: 15 minutes
- Cook Time: 15 minutes
- Total Time: 30 minutes
- Yield: Approximately 30 doughnut holes 1x
- Category: Dessert
- Method: Frying
- Cuisine: American
Ingredients
For the Glaze:
- 1 1/2 cups confectioners’ sugar
- 3 1/2 tablespoons whole milk
- 2 teaspoons vanilla extract
For the Doughnut Holes:
- 5 cups vegetable oil, for frying
- 1 cup milk
- 1 large egg
- 2 cups all-purpose flour
- 2 tablespoons sugar
- 4 1/2 teaspoons baking powder
- 1/2 teaspoon salt
- 1/4 cup (½ stick) unsalted butter, melted
Instructions
- Prepare the Doughnut Dough: In a large mixing bowl, combine the milk, egg, and melted unsalted butter. In a separate bowl, whisk together the all-purpose flour, sugar, baking powder, and salt. Gradually add the dry ingredients to the wet ingredients, mixing until a soft dough forms.
- Heat the Oil: Pour 5 cups of vegetable oil into a heavy deep pan or Dutch oven and heat over medium heat until it reaches 350°F (175°C). Use a deep-fry thermometer for accuracy to ensure the proper frying temperature.
- Shape and Fry Doughnut Holes: Using a small cookie scoop or spoon, drop small balls of dough into the hot oil carefully. Fry the doughnut holes in batches to avoid overcrowding, turning occasionally until they are golden brown on all sides, about 2-3 minutes per batch.
- Drain the Doughnuts: Remove the fried doughnut holes with a slotted spoon and place them on a paper towel-lined plate to drain excess oil.
- Make the Glaze: In a medium bowl, whisk together the confectioners’ sugar, whole milk, and vanilla extract until smooth and glossy. It should be thick but pourable. Adjust consistency by adding more milk or sugar if needed.
- Glaze the Doughnut Holes: While the doughnut holes are still slightly warm, dip them into the glaze to coat fully or drizzle the glaze over them. Place on a wire rack for the glaze to set before serving.
Notes
- Use a deep-fry thermometer to maintain consistent oil temperature for best results.
- Do not overcrowd the pan when frying to ensure even cooking and prevent oil temperature from dropping.
- The glaze can be refrigerated in an airtight container for up to one week.
- For a dairy-free version, substitute milk with almond or oat milk and use a plant-based butter.
- Leftover doughnut holes are best eaten fresh but can be reheated briefly in the oven for a warm treat.
Keywords: glazed doughnut holes, homemade doughnuts, easy doughnut recipe, fried doughnut holes, vanilla glaze, sweet doughnuts