Crusty Italian Bread Recipe
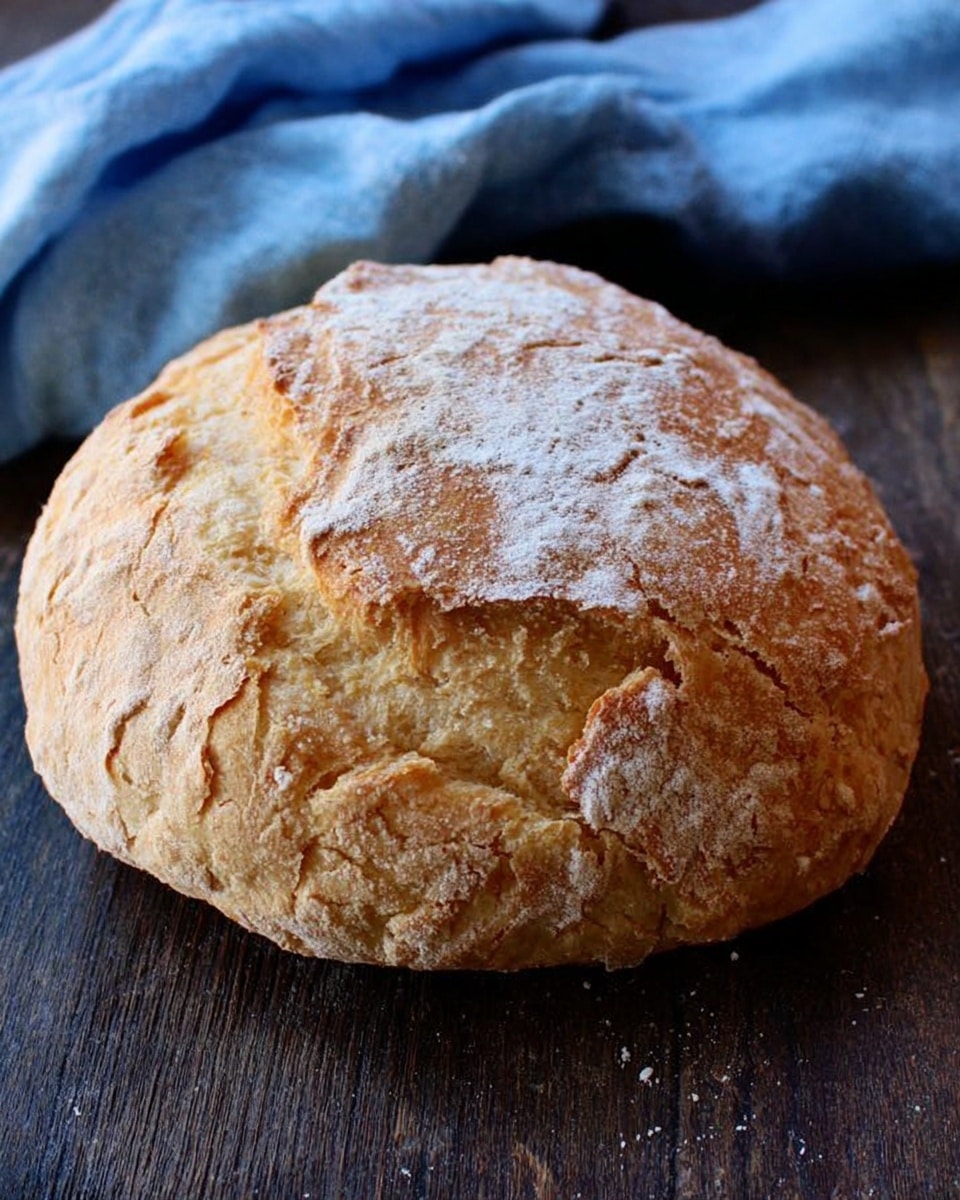
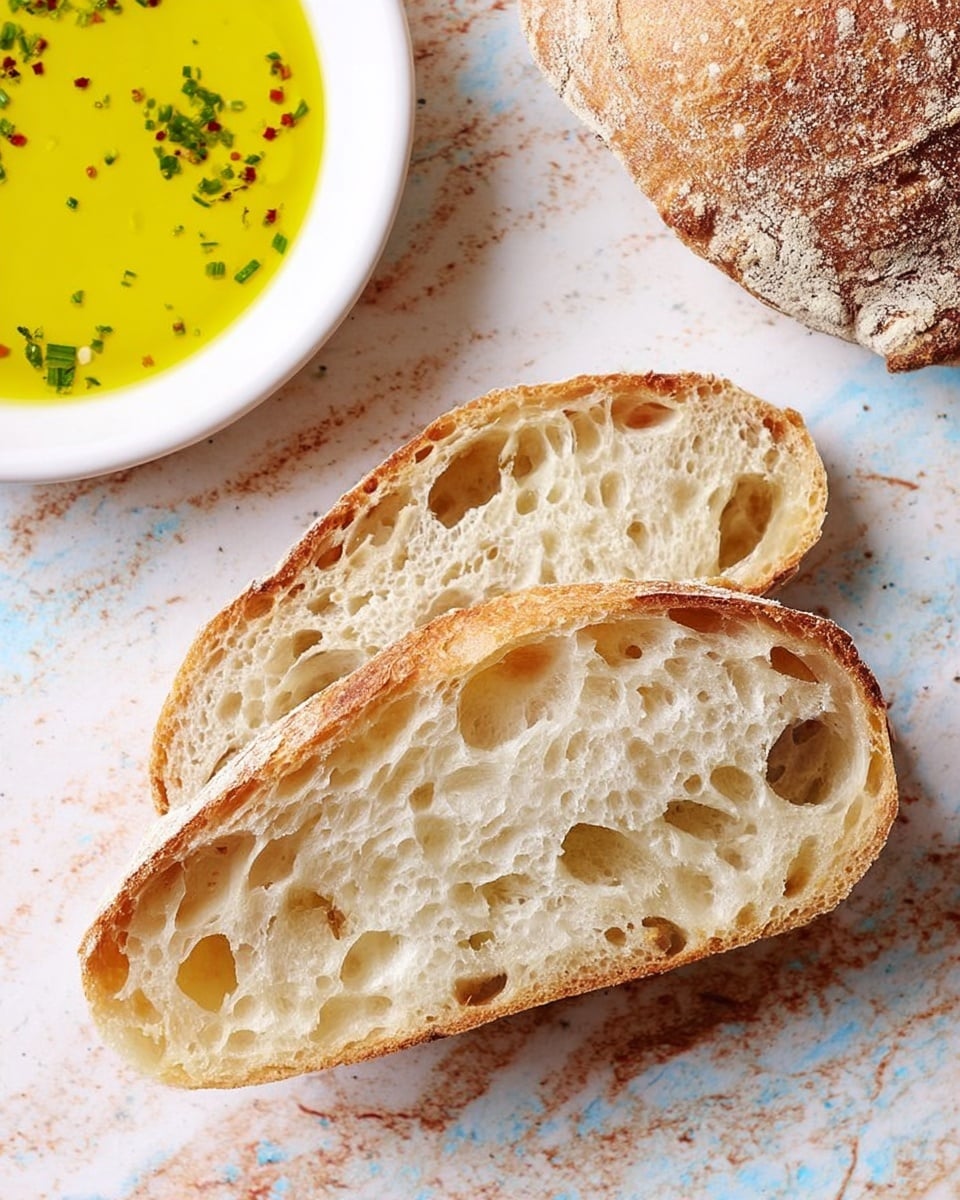
If you’ve ever dreamed of making bakery-level crusty bread right at home, this Crusty Italian Bread Recipe is just the ticket. It comes together with simple ingredients but yields an irresistibly crunchy crust and soft, airy crumb that’s perfect for everything from sandwiches to dipping in your favorite pasta sauce. I’ve found it’s incredibly rewarding—baking this bread fills my kitchen with that warm, yeasty aroma that just says “homemade.”
What really makes this Crusty Italian Bread Recipe stand out is how versatile it is—you can eat it fresh from the oven with a smear of butter, use it to mop up stew on a chilly evening, or even toast it lightly for breakfast with jam. Plus, the techniques are straightforward enough that even if you’re new to baking bread, you’ll feel confident each step of the way. Trust me, once you nail this recipe, you’ll want to keep it in regular rotation.
Ingredients You’ll Need
Every ingredient in this Crusty Italian Bread Recipe plays a crucial role in achieving that perfect crust and texture. Choosing quality ingredients and knowing a couple of little tips can really make a big difference.
- Bread flour: High-protein bread flour is key for that chewy structure and crisp crust. Avoid using all-purpose flour here.
- Warm water: Between 100-110°F is perfect to activate the yeast without killing it—too hot and your dough won’t rise properly.
- Granulated sugar: Just a bit to feed the yeast, helping with lift and browning.
- Active dry yeast: Make sure it’s fresh; expired yeast can lead to dense bread. I like proofing it first to check it’s alive.
- Butter (room temperature): Adds richness without weighing the dough down.
- Salt: Essential for flavor and controlling yeast fermentation so the bread doesn’t over-rise.
- Egg white and chilled water: Used for brushing the loaf pre-baking—this helps you achieve that shiny, deeply golden crust.
- Extra virgin olive oil: Adds subtle flavor and keeps the crust from getting too brittle.
Variations
I love experimenting with this Crusty Italian Bread Recipe, and it’s easy to tailor it to your taste or dietary needs. Don’t be afraid to make it your own!
- Herb-infused: Adding fresh rosemary or thyme to the dough gives a lovely aromatic twist—perfect for garlic bread lovers.
- Whole wheat: Swap out half the bread flour with whole wheat for a nuttier, denser loaf that’s still great for toast and sandwiches.
- Gluten-free adaptation: While trickier, you can replace bread flour with a good gluten-free flour blend and add xanthan gum to mimic structure.
- Garlic and olive oil brushing: Instead of egg white wash, try brushing with garlic-infused olive oil before baking for an extra punch of flavor.
How to Make Crusty Italian Bread Recipe
Step 1: Activate Your Yeast
Start by dissolving the tablespoon of sugar into the warm water (between 100-110°F). Sprinkle the active dry yeast over the surface and give it a gentle stir. Let it sit for about 5-10 minutes until it gets foamy on top—this means your yeast is alive and ready to work. If it doesn’t foam, start over with fresh yeast; it’s a simple step that saves frustration down the road.
Step 2: Mix and Knead the Dough
In a large mixing bowl, combine the bread flour and salt. Add the butter, then pour in your activated yeast mixture slowly, mixing with a spoon or your hands until it forms a shaggy dough. Turn it onto a floured surface and knead for about 8-10 minutes until the dough is smooth, elastic, and slightly tacky—not sticky. Kneading develops that gluten network, which is essential for capturing the gas that helps your bread rise beautifully.
Step 3: First Rise (Bulk Fermentation)
Place the dough in a lightly oiled bowl, cover it with a clean kitchen towel or plastic wrap, and let it rise in a warm, draft-free spot for about 1 to 1.5 hours or until it doubles in size. This patience pays off big time—the longer the rise, the more flavorful and airy your loaf will be.
Step 4: Shape and Second Rise
After the dough has roughly doubled, punch it down gently to release built-up gas. Shape it into a classic Italian loaf—you can go oval or round—and place it on a baking sheet lined with parchment paper. Cover it loosely again and let it rise for another 30-45 minutes. This second rise ensures your bread gets that lovely shape and perfect crumb.
Step 5: Prepare the Crust and Bake
Preheat your oven to 425°F (220°C). Mix the egg white with chilled water and gently brush it over the loaf—this is the secret to that signature golden, shiny crust. Drizzle or brush a bit of olive oil over the top for extra flavor and texture. You can also make a few shallow slashes with a sharp knife on the loaf’s surface to let steam escape and create those beautiful rustic patterns.
Bake for about 25-30 minutes, until the crust is deep golden and the loaf sounds hollow when tapped on the bottom. Resist the urge to open the oven door too often, or you’ll lose precious heat and steam that help develop crustiness.
How to Serve Crusty Italian Bread Recipe
Garnishes
I often sprinkle a little flaky sea salt or brush more olive oil right before serving, which adds a lovely finishing touch. Sometimes I even rub a cut garlic clove over the crust while it’s warm—it’s simple but divine.
Side Dishes
This bread pairs so well with a big bowl of marinara or my homemade minestrone soup. It’s also fantastic alongside antipasti plates featuring cheeses, olives, and cured meats. For a quick snack, try it with a thick spread of ricotta or your favorite pesto.
Creative Ways to Present
For holidays or dinner parties, I like to turn the loaf into a bread bowl filled with spinach artichoke dip or creamy tomato soup. Another favorite trick is slicing the loaf almost fully but leaving the bottom intact, then stuffing with cheese, herbs, and cooked sausage before warming it in the oven—everyone always asks for the recipe after that!
Make Ahead and Storage
Storing Leftovers
Wrap leftover Crusty Italian Bread tightly in a clean kitchen towel, then place it in a paper bag or loosely in a bread box. Avoid plastic bags as they trap moisture and make the crust soggy. Stored this way, it stays fresh for about 2 days and keeps that delightful crunch.
Freezing
If you bake ahead, I recommend slicing the bread first and freezing the loaf in an airtight freezer bag. This way, you can pull out just what you need without thawing the whole loaf. In my experience, the bread freezes remarkably well and tastes fresh once reheated.
Reheating
To revive that fresh-crust magic, pop slices or the whole loaf in a 350°F oven for 5-7 minutes, or toast slices directly. This crisp-up step brings back the lovely texture and warms the crumb beautifully—way better than the microwave!
FAQs
-
Can I make this Crusty Italian Bread Recipe without a stand mixer?
Absolutely! This recipe is very hands-on and kneading by hand works wonderfully. It just takes a bit more elbow grease and about 8-10 minutes to get the dough to that smooth, elastic stage. I often prefer hand kneading because you can feel the dough’s texture changes—super satisfying!
-
Why is my crust soft instead of crusty?
Soft crust usually means there’s too much moisture trapped or the bread wasn’t baked long enough. Make sure to use the egg white wash then bake at a high temperature (425°F). Also, avoid wrapping warm bread in plastic—let it cool fully on a wire rack uncovered to help keep the crust crisp.
-
Can I use instant yeast instead of active dry yeast?
Yes, you can substitute instant yeast—just mix it directly with the dry ingredients without proofing. Reduce the amount slightly (around 2 teaspoons) since instant yeast is more concentrated, and you might notice a faster rise time.
-
How do I know when the bread is fully baked?
Tap the bottom of the loaf; it should sound hollow when fully baked. Also, the crust should be deeply golden. If you have a kitchen thermometer, the internal temperature should reach about 200-210°F.
-
Can I make smaller rolls instead of one large loaf?
Definitely! Shape the dough into smaller balls for rolls—reduce the baking time to about 15-20 minutes. They make excellent sandwich buns or snack-sized breads, and the crusty exterior is just as delicious.
Final Thoughts
This Crusty Italian Bread Recipe holds a special place in my kitchen rotation because it combines simplicity with that satisfying wow-factor crust every time. I hope you enjoy making it just as much as I enjoy sharing it with friends and family over casual meals. It’s the kind of recipe that builds confidence, warms hearts, and makes any day feel a little more special. So go ahead—grab your flour and yeast, and let’s bake some crusty magic together!
PrintCrusty Italian Bread Recipe
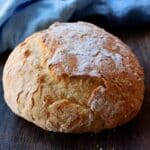
This Crusty Italian Bread recipe yields a beautifully golden, crisp crust with a soft, airy interior. Made using simple ingredients like bread flour, yeast, and olive oil, it is perfect for sandwiches, dipping in olive oil, or enjoying with your favorite Italian dishes. The dough is kneaded, allowed to rise twice, and baked to perfection with an egg white wash to enhance the crust’s shine and crunch.
- Prep Time: 20 minutes
- Cook Time: 30 minutes
- Total Time: 2 hours 35 minutes
- Yield: 1 large loaf (about 12 servings) 1x
- Category: Bread
- Method: Baking
- Cuisine: Italian
Ingredients
Dough
- 650 grams bread flour (approximately 5 1/4 cups)
- 1 3/4 cups warm water (100-110°F / 38-43°C)
- 1 tablespoon granulated sugar
- 1 tablespoon active dry yeast
- 1 tablespoon butter, room temperature
- 2 teaspoons salt
Finishing
- 1 egg white
- 1 tablespoon chilled water
- 1 tablespoon extra virgin olive oil
Instructions
- Activate the yeast: In a small bowl, combine the warm water (100-110°F) with granulated sugar and active dry yeast. Stir gently and let it sit for about 5-10 minutes, or until frothy and bubbly, indicating the yeast is active.
- Make the dough: In a large mixing bowl, combine the bread flour and salt. Add the softened butter and the activated yeast mixture. Mix until a rough dough forms.
- Knead the dough: Turn the dough onto a floured surface and knead for about 10 minutes until smooth, elastic, and slightly tacky but not sticky. Alternatively, use a stand mixer with a dough hook for 7-8 minutes on medium speed.
- First rise: Lightly oil a clean bowl and place the dough inside. Cover with a damp cloth or plastic wrap and let it rise in a warm, draft-free area for 1 to 1.5 hours, or until doubled in size.
- Shape the loaf: Punch down the dough to release air. Shape it into a round or oval loaf on a lightly floured surface. Place it on a baking sheet lined with parchment paper.
- Second rise: Cover the shaped dough loosely with a cloth or plastic wrap and let it rise for another 30-45 minutes until puffed up.
- Preheat oven: Preheat your oven to 425°F (220°C). Place an empty metal pan on the lower rack to create steam during baking.
- Prepare egg wash: In a small bowl, whisk the egg white and chilled water together until frothy. Brush this mixture gently over the surface of the dough to enhance crust color and shine.
- Create steam and bake: Just before placing the bread in the oven, pour about 1/2 cup of hot water into the metal pan to generate steam. Quickly close the oven door and bake the bread for 25-30 minutes until it is deep golden brown and sounds hollow when tapped on the bottom.
- Cool and finish: Remove the bread from the oven and transfer it to a wire rack. Brush the crust lightly with extra virgin olive oil while still warm to add flavor and a subtle sheen. Allow the bread to cool completely before slicing to preserve the crustiness.
Notes
- Use bread flour for best gluten development and a chewy texture.
- Ensure water temperature is warm, not hot, to activate yeast without killing it.
- Steam in the oven helps develop a crispy crust.
- Brushing with egg white helps create a glossy, firm crust.
- Adding olive oil after baking enhances flavor and texture on the crust.
- Store bread in a paper bag or bread box to maintain crustiness longer.
Keywords: Italian bread, crusty bread, homemade bread, yeast bread, artisan bread, baking bread