Boston Cream Pie with Chocolate Glaze Recipe
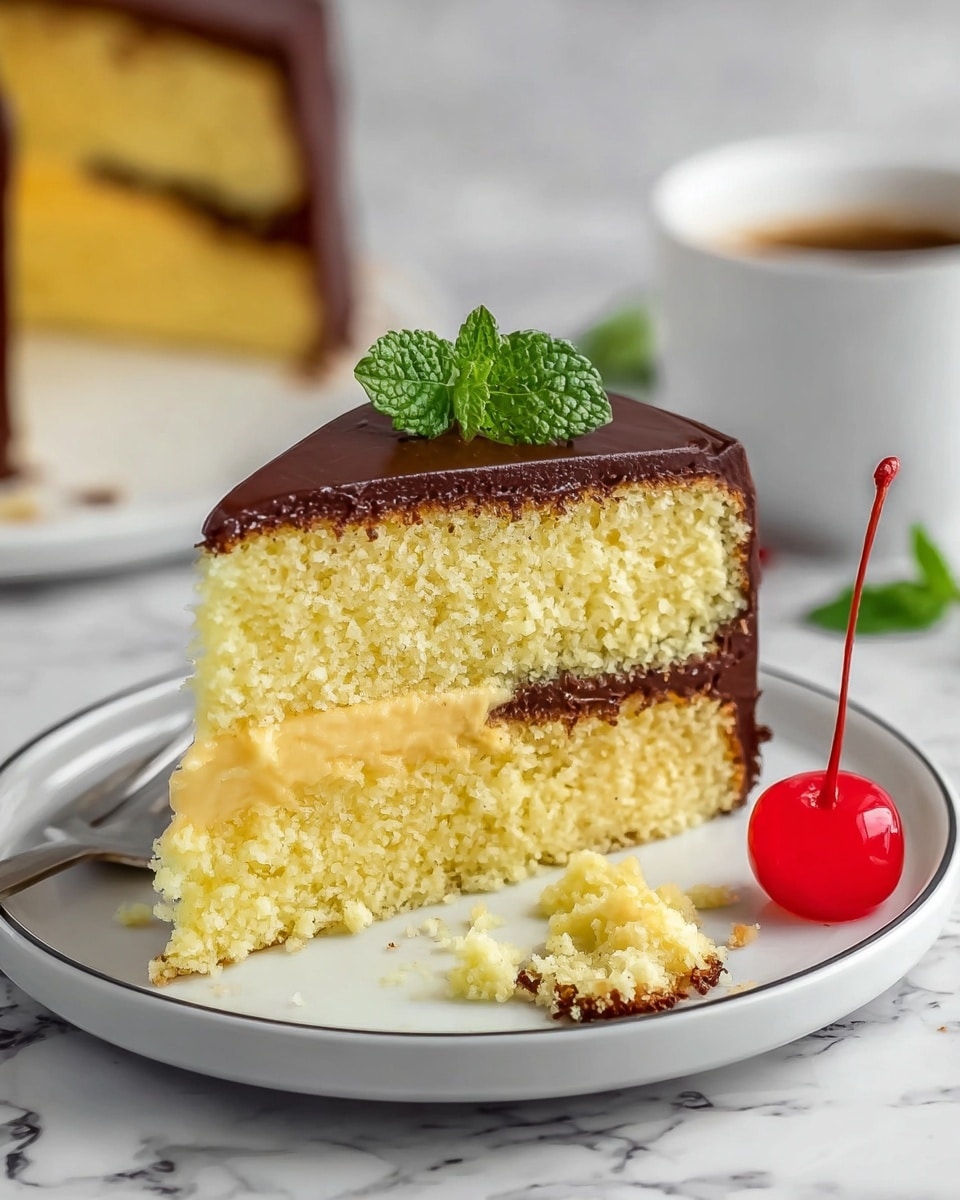
If you’ve ever dreamt of a dessert that’s both nostalgic and indulgent, this Boston Cream Pie with Chocolate Glaze Recipe is where those cravings meet their match. It’s this beautiful harmony of soft, fluffy cake layers wrapped around a luscious vanilla custard, all topped with that glossy, rich chocolate glaze. I don’t know about you, but every time I pull this out, it becomes the star of the table—whether it’s a family gathering or just a weekend treat.
What makes this Boston Cream Pie so special, in my opinion, is how it balances texture and flavor without being overly complicated. The custard is smooth and creamy, the cake is light enough to soak up just the right amount of moisture, and the chocolate glaze adds that perfect snap and shine. Trust me, once you make this Boston Cream Pie with Chocolate Glaze Recipe, you’ll want to keep it in your baking rotation.
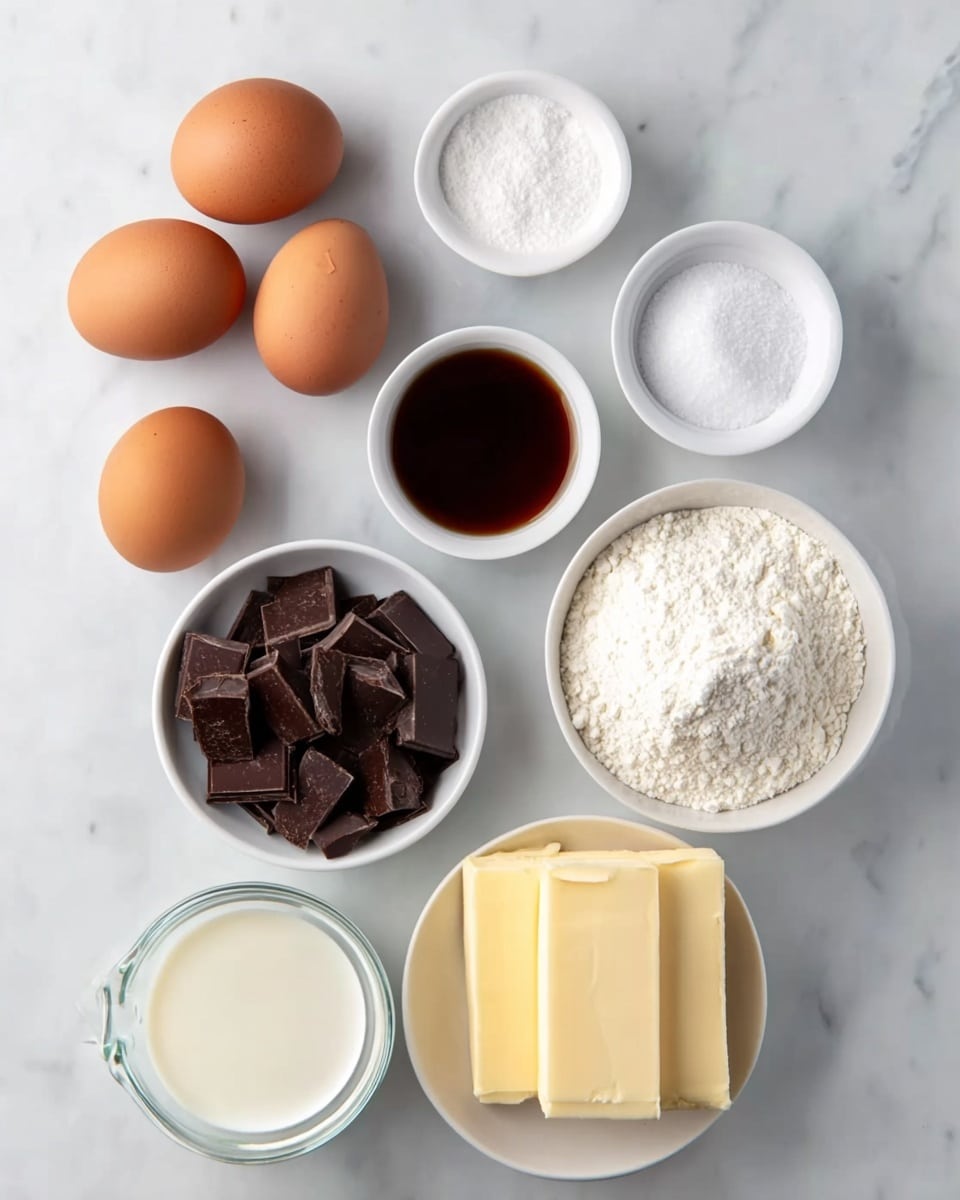
Ingredients You’ll Need
These ingredients work so well together to create that classic Boston Cream Pie taste and texture. When shopping, opt for good quality chocolate and fresh eggs—they really elevate the custard and glaze to the next level.
- All-purpose flour: The backbone of the cake’s tender crumb; make sure it’s sifted for lightness.
- Baking powder: Helps your cake rise perfectly fluffy—don’t skip or substitute without adjusting.
- Salt: Just a pinch to bring out all the flavors in the cake.
- Unsalted butter: Softened to room temperature, it enriches the cake and keeps it moist.
- Granulated sugar: Sweetness for the cake and custard; measure carefully for balance.
- Large eggs: They bind everything together and add richness—use them at room temp if you can.
- Vanilla extract: Adds warmth and depth to both cake and custard—pure vanilla is best.
- Whole milk: For the cake and custard; its fat helps achieve creaminess and tenderness.
- Cornstarch: Thickens the custard without lumps; whisk it in slowly.
- Heavy cream: For that silky chocolate glaze; don’t substitute with milk unless you want a thinner topping.
- Semi-sweet chocolate: Chopped finely for smooth melting inside the glaze.
- Corn syrup: Adds shine and keeps your glaze silky—classic baker’s trick.
Variations
I love giving this Boston Cream Pie with Chocolate Glaze Recipe my own twists sometimes. Playing around with fillings and glazes keeps it fun—plus, you can customize it to what you and your guests prefer.
- Custard Swap: I once tried a rich pastry cream with a hint of orange zest instead of plain vanilla, and it brought a lovely unexpected brightness.
- Chocolate Options: Dark chocolate glaze ups the intensity, perfect if you lean towards less sweet desserts.
- Diet-Friendly: I’ve experimented with coconut milk custard and dairy-free dark chocolate for vegan friends, and it worked surprisingly well.
- Seasonal Touch: Adding fresh berries or a raspberry coulis on the side adds a pop of freshness that cuts through the richness beautifully.
How to Make Boston Cream Pie with Chocolate Glaze Recipe
Step 1: Prepare the Cake Batter
Start by preheating your oven and greasing your cake pans—this recipe calls for two 9-inch rounds, so have those ready. Then sift together the flour, baking powder, and salt. In a separate bowl, cream your softened butter with sugar until fluffy—this part takes time but is essential for that tender crumb you’re after. Beat in the eggs one at a time, then stir in the vanilla. Alternate adding your flour mixture and whole milk, starting and ending with the flour to keep the batter smooth. This balance keeps the texture light yet moist.
Step 2: Bake the Cake Layers
Divide the batter evenly between your pans and smooth the tops. Pop them into the oven and bake for about 25 to 30 minutes, or until a toothpick comes out clean. I learned this the hard way—half-baked cake is a sad thing, so keep an eye on it starting at 25 minutes. After baking, let the cakes cool completely before assembling to avoid melting your custard later.
Step 3: Make the Vanilla Custard Filling
While the cakes bake, whisk together your sugar, cornstarch, and egg yolks in a bowl. Slowly warm the milk in a saucepan until just before boiling, then temper it into your yolk mixture slowly to avoid scrambling the eggs. Return everything to the heat and stir continuously until it thickens—this takes patience but results in silky smooth custard. Stir in vanilla, then transfer to a bowl, cover directly with plastic wrap to prevent a skin from forming, and chill until set.
Step 4: Prepare the Chocolate Glaze
Heat your heavy cream in a small pan until it just starts to simmer, then pour over chopped semi-sweet chocolate and corn syrup in a bowl. Let it sit for a minute, then stir gently until glossy and smooth. This glaze is delightfully shiny and sets beautifully without being too firm.
Step 5: Assemble Your Boston Cream Pie
Place one cake layer on your serving plate, spread the chilled custard evenly over it, then top with the second cake layer. Pour the chocolate glaze over the top, letting it drape and drip naturally over the sides. You can use an offset spatula to smooth it or just enjoy the rustic look. Chill the cake for at least an hour before serving to let everything set up nicely.
How to Serve Boston Cream Pie with Chocolate Glaze Recipe
Garnishes
I usually keep it classic with a dusting of powdered sugar or a few fresh berries to add color and a bit of brightness. Sometimes, a few edible flowers make it feel extra special for parties—easy yet impressive.
Side Dishes
Since this Boston Cream Pie with Chocolate Glaze Recipe is pretty rich, I like to serve it with a light fruit salad or a simple mixed green salad with a citrus vinaigrette to balance things out. Fresh brewed coffee or black tea rounds out the experience perfectly.
Creative Ways to Present
For birthdays, I’ve layered the custard and cake into mini individual trifles in glass jars—looks stunning and makes portion control easier! Another time, I piped rosettes of whipped cream around the edge before glazing, adding a fancy bakery vibe that wowed my guests.
Make Ahead and Storage
Storing Leftovers
Wrap leftovers tightly with plastic wrap or store in an airtight container in the fridge to keep everything fresh. The custard soaks into the cake a bit over time, which I actually love because it gets even more flavorful after a day.
Freezing
I’ve had success freezing this Boston Cream Pie with Chocolate Glaze Recipe by slicing it first and wrapping individual pieces in plastic and foil. Thaw in the fridge overnight and pour a little extra glaze on top to freshen it up before serving.
Reheating
I usually eat this chilled, but if you want to warm a slice slightly, pop it in the microwave for 10-15 seconds—not too long or the custard melts. Or try room temperature for a softer texture that still tastes delicious.
FAQs
-
Can I use a different type of chocolate for the glaze?
Absolutely! Semi-sweet chocolate gives a balanced sweetness, but you can swap in dark chocolate for a richer flavor or milk chocolate for a sweeter, creamier finish. Just be sure to adjust the corn syrup slightly if your chocolate is sweeter to maintain the glaze’s shine and texture.
-
How do I avoid lumps in the custard filling?
The key is to whisk the cornstarch and sugar with the egg yolks before adding hot milk gradually. Adding the warm milk slowly prevents the eggs from curdling. Then keep stirring over medium heat until it thickens smoothly. Covering with plastic wrap directly on the surface while cooling also stops any skin from forming.
- Can I make this recipe gluten-free?
Yes! Substitute the all-purpose flour with a gluten-free flour blend that measures cup-for-cup like regular flour. Just check your baking powder’s ingredients to ensure it’s gluten-free. The texture might be slightly different but still delicious.
- Is there a substitute for corn syrup in the chocolate glaze?
If you don’t have corn syrup, honey or light golden syrup work well as alternatives. They help keep the glaze shiny and smooth. Just use the same amount as corn syrup and stir gently to combine.
- How long does Boston Cream Pie with Chocolate Glaze Recipe stay fresh?
When stored in the refrigerator properly covered, it stays fresh for up to 3 days. After that, the custard can begin to break down and the cake might dry out slightly, so plan accordingly.
Final Thoughts
Honestly, this Boston Cream Pie with Chocolate Glaze Recipe holds a special place in my recipe box because it strikes that perfect balance between simplicity and decadence. It’s approachable for even beginner bakers, yet fancy enough to impress guests without fuss. When you make it at home, you’re not just baking a cake—you’re creating a moment that everyone will remember. I really hope you give this one a try; I can’t wait to hear how it turns out for you!
PrintBoston Cream Pie with Chocolate Glaze Recipe

This classic Boston Cream Pie recipe features a tender vanilla sponge cake layered with creamy vanilla custard and topped with a rich, glossy chocolate glaze. The perfect balance of soft cake, smooth custard, and luscious chocolate creates an indulgent dessert that impresses at any occasion.
- Prep Time: 30 minutes
- Cook Time: 30 minutes
- Total Time: 1 hour
- Yield: 8 servings 1x
- Category: Dessert
- Method: Baking
- Cuisine: American
Ingredients
For The Cake:
- 1¾ cups all-purpose flour
- 2 teaspoons baking powder
- ¼ teaspoon salt
- ½ cup unsalted butter (softened)
- 1 cup granulated sugar
- 3 large eggs
- 1½ teaspoons vanilla extract
- ¾ cup whole milk
For The Custard Filling:
- 2 cups whole milk
- ½ cup granulated sugar
- 2 tablespoons cornstarch
- 2 large egg yolks
- 1 teaspoon vanilla extract
For The Chocolate Glaze:
- ½ cup heavy cream
- 4 ounces semi-sweet chocolate (chopped)
- 2 tablespoons corn syrup
Instructions
- Prepare the Cake Batter: Preheat your oven to 350°F (175°C) and grease two 8-inch round cake pans. In a bowl, whisk together the all-purpose flour, baking powder, and salt. In a separate large bowl, cream the softened butter and granulated sugar until light and fluffy. Add the eggs one at a time, beating well after each addition, then mix in the vanilla extract. Alternately add the dry ingredients and whole milk to the butter mixture, beginning and ending with the dry ingredients, stirring just until combined.
- Bake the Cake Layers: Divide the batter evenly between the prepared pans and smooth the tops. Bake for approximately 25-30 minutes or until a toothpick inserted into the center comes out clean. Allow the cakes to cool in the pans for 10 minutes, then turn out onto a wire rack to cool completely.
- Make the Custard Filling: In a medium saucepan, heat the whole milk over medium heat until hot but not boiling. In a bowl, whisk together the granulated sugar, cornstarch, and egg yolks until smooth. Gradually add about a cup of the hot milk to the egg mixture to temper it, whisking constantly. Pour the tempered egg mixture back into the saucepan with the remaining milk. Cook over medium heat, stirring constantly, until the mixture thickens and comes to a boil. Remove from heat and stir in vanilla extract. Transfer custard to a bowl, cover with plastic wrap directly on the surface to prevent a skin, and refrigerate until chilled.
- Prepare the Chocolate Glaze: In a small saucepan, heat heavy cream over medium heat until it just begins to simmer. Remove from heat and add the chopped semi-sweet chocolate and corn syrup. Let sit for a minute to melt, then stir until smooth and glossy. Allow the glaze to cool to a pourable consistency.
- Assemble the Boston Cream Pie: Place one cake layer on a serving plate. Spread the chilled custard evenly over the top. Carefully place the second cake layer on top. Pour the chocolate glaze over the top, allowing it to drip slightly down the sides. Refrigerate for at least 1 hour before serving to allow the glaze to set.
Notes
- To ensure smooth custard, constantly whisk while cooking to prevent lumps.
- Temper the egg yolks slowly to avoid scrambling during custard preparation.
- Make sure cakes are completely cool before layering with custard to prevent melting.
- The chocolate glaze can be warmed slightly if it thickens too much before pouring.
- Store the assembled cake covered in the refrigerator and consume within 2-3 days for best freshness.
Keywords: Boston Cream Pie, Vanilla Cake, Custard Filling, Chocolate Glaze, Classic Dessert